I’m pretty handy around the house (a lot handier than hubby, in fact!) but I don’t share a lot of DIY projects on the blog. Mostly because I don’t have a lot of time to do a lot of DIY projects in my life! But this is one I did last summer that has saved my sanity: A DIY Library Bookshelf.
When we moved into our new house, we lost our playroom. We created our little library space for the girls to do school and I used one of our Ikea shelves for all their books (I have a book problem…) But when the shelf constantly looked like this:
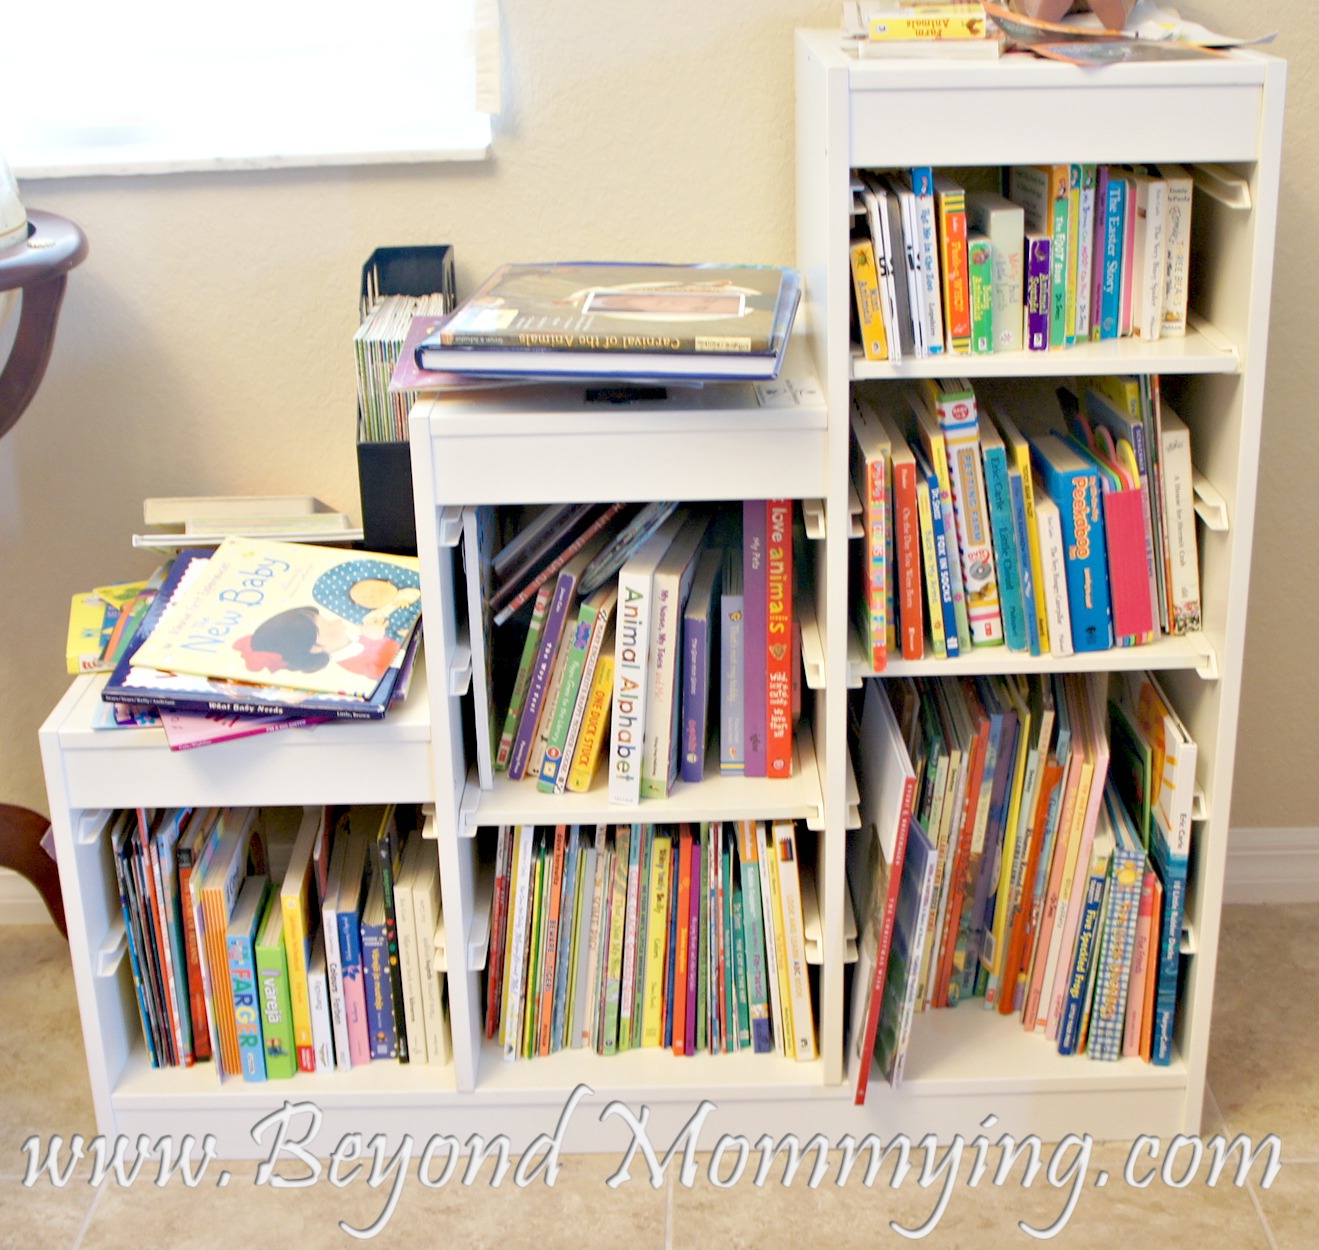
with books falling over, pushed so far back you couldn’t see them and haphazardly stacked all over the top, I realized our setup wasn’t working for our kids and we needed to find a new solution.
(This post contains affiliate links, labeled with “AL”. If you click and make a purchase, Beyond Mommying may receive a small commission which is used for the upkeep of the website.)
I dreamed about a cart like at the library (AL) where the shelves are slanted so books don’t fall over as easily and you don’t have to worry about how far back to push them. But the carts get a little pricey and most have wheels which I’m not a fan of for my kids’ use. So I decided to design and build my own.
Not only did I get the exact library bookshelf that I wanted, it only cost me about half the price of buying one plus a little time and sweat (mostly because I it was July and I was pregnant at the time so everything made me sweat!)
DIY Library Bookshelf
What you need:
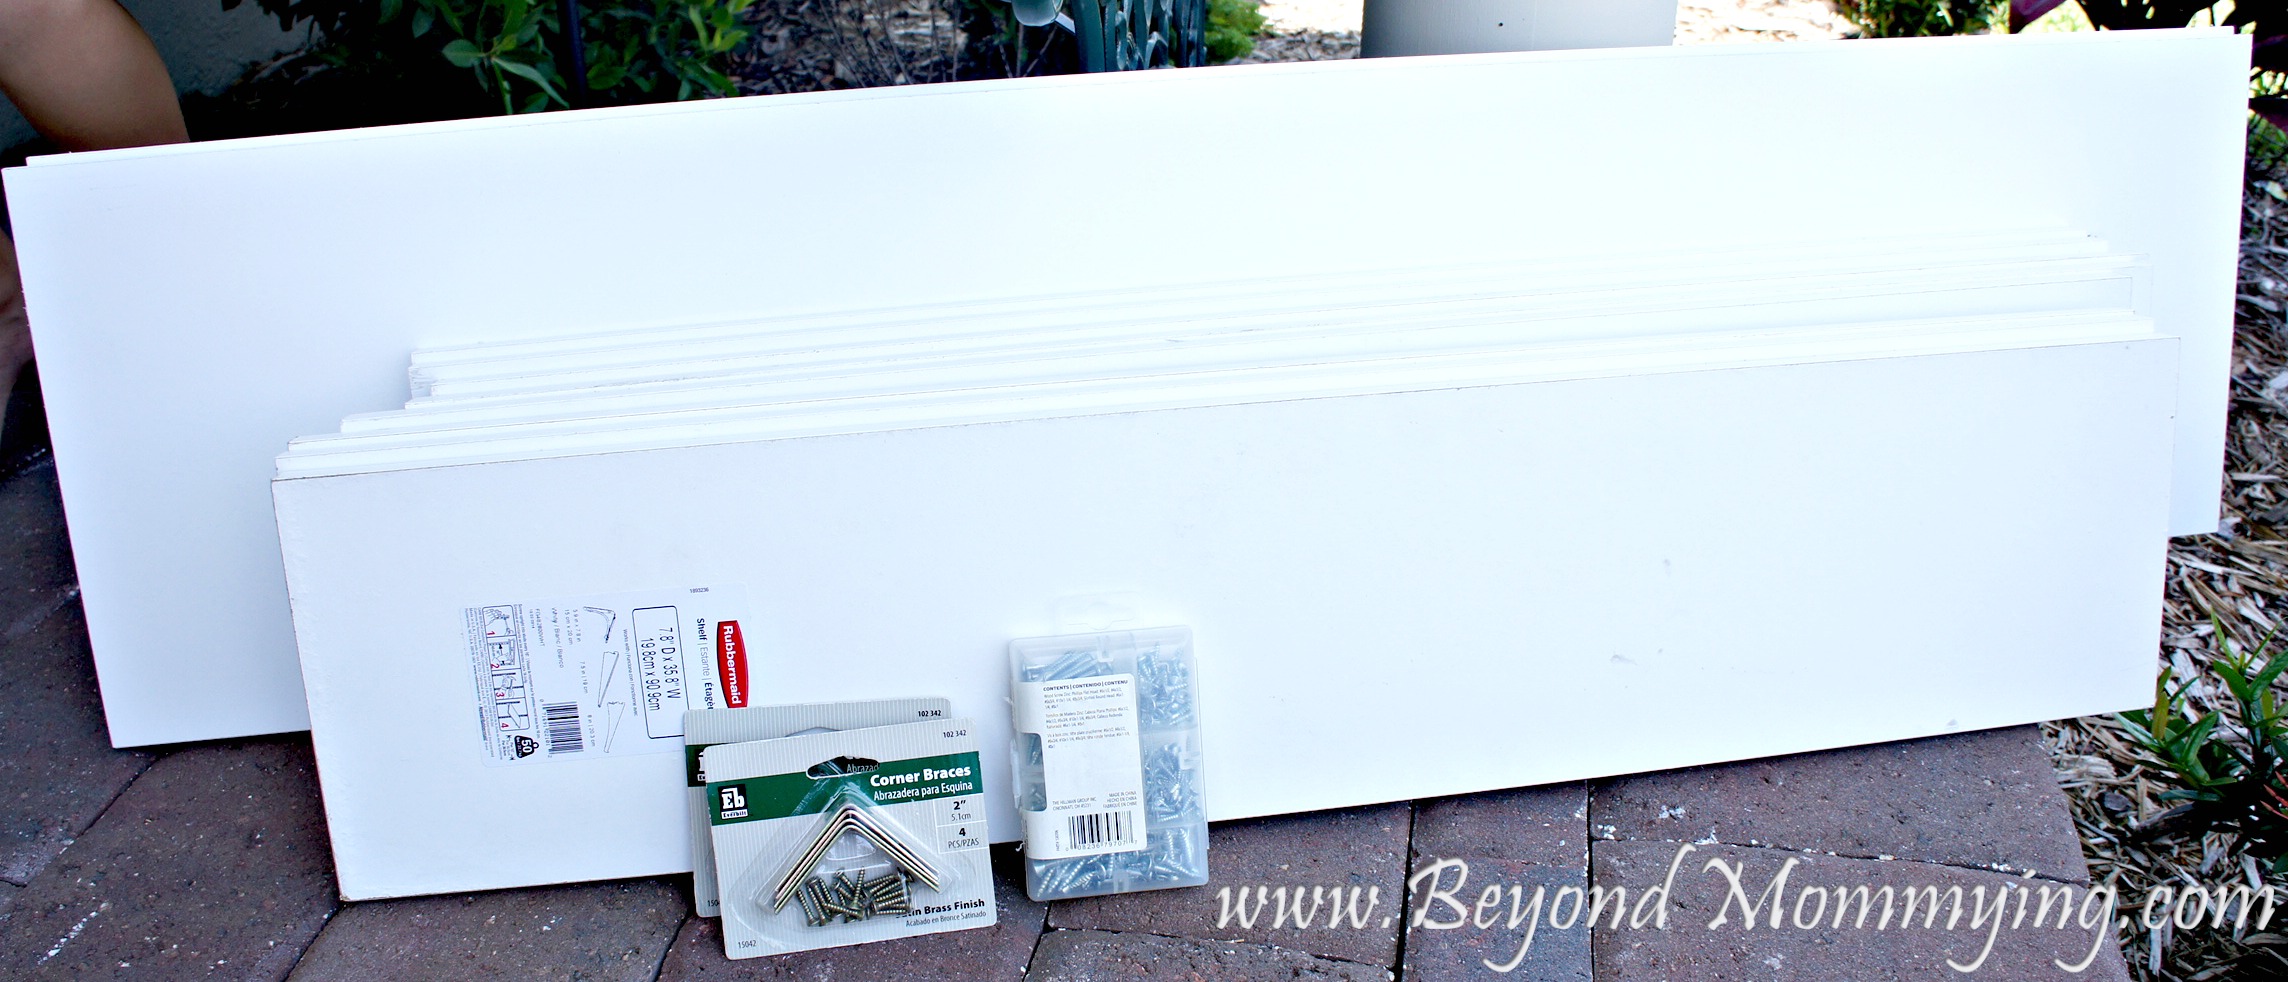
(affiliate links)
- 2 shelves: 4 feet by 10 inches
- 8 shelves: 3 feet by 8 inches
- 8 L-Brackets
- Wood Screws
- Power Drill/screwdriver
How to assemble the library bookshelf:
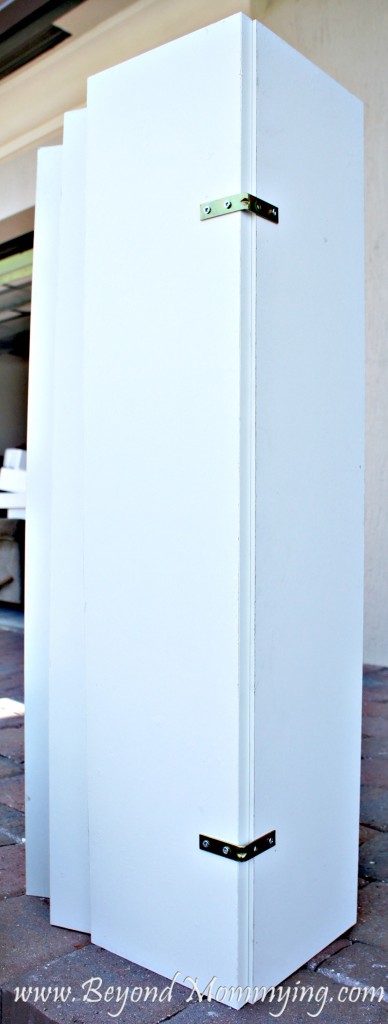
- Use the L-Brackets and short wood screws on the under side to attach two of the smaller shelves together to create an “L” shape.
- Arrange the L-shaped shelves on one of the larger shelves and mark the bottom and backside of each shelf with a pencil.
- Drill two holes 1/2 inch above each marked line, about 2″ from each end.
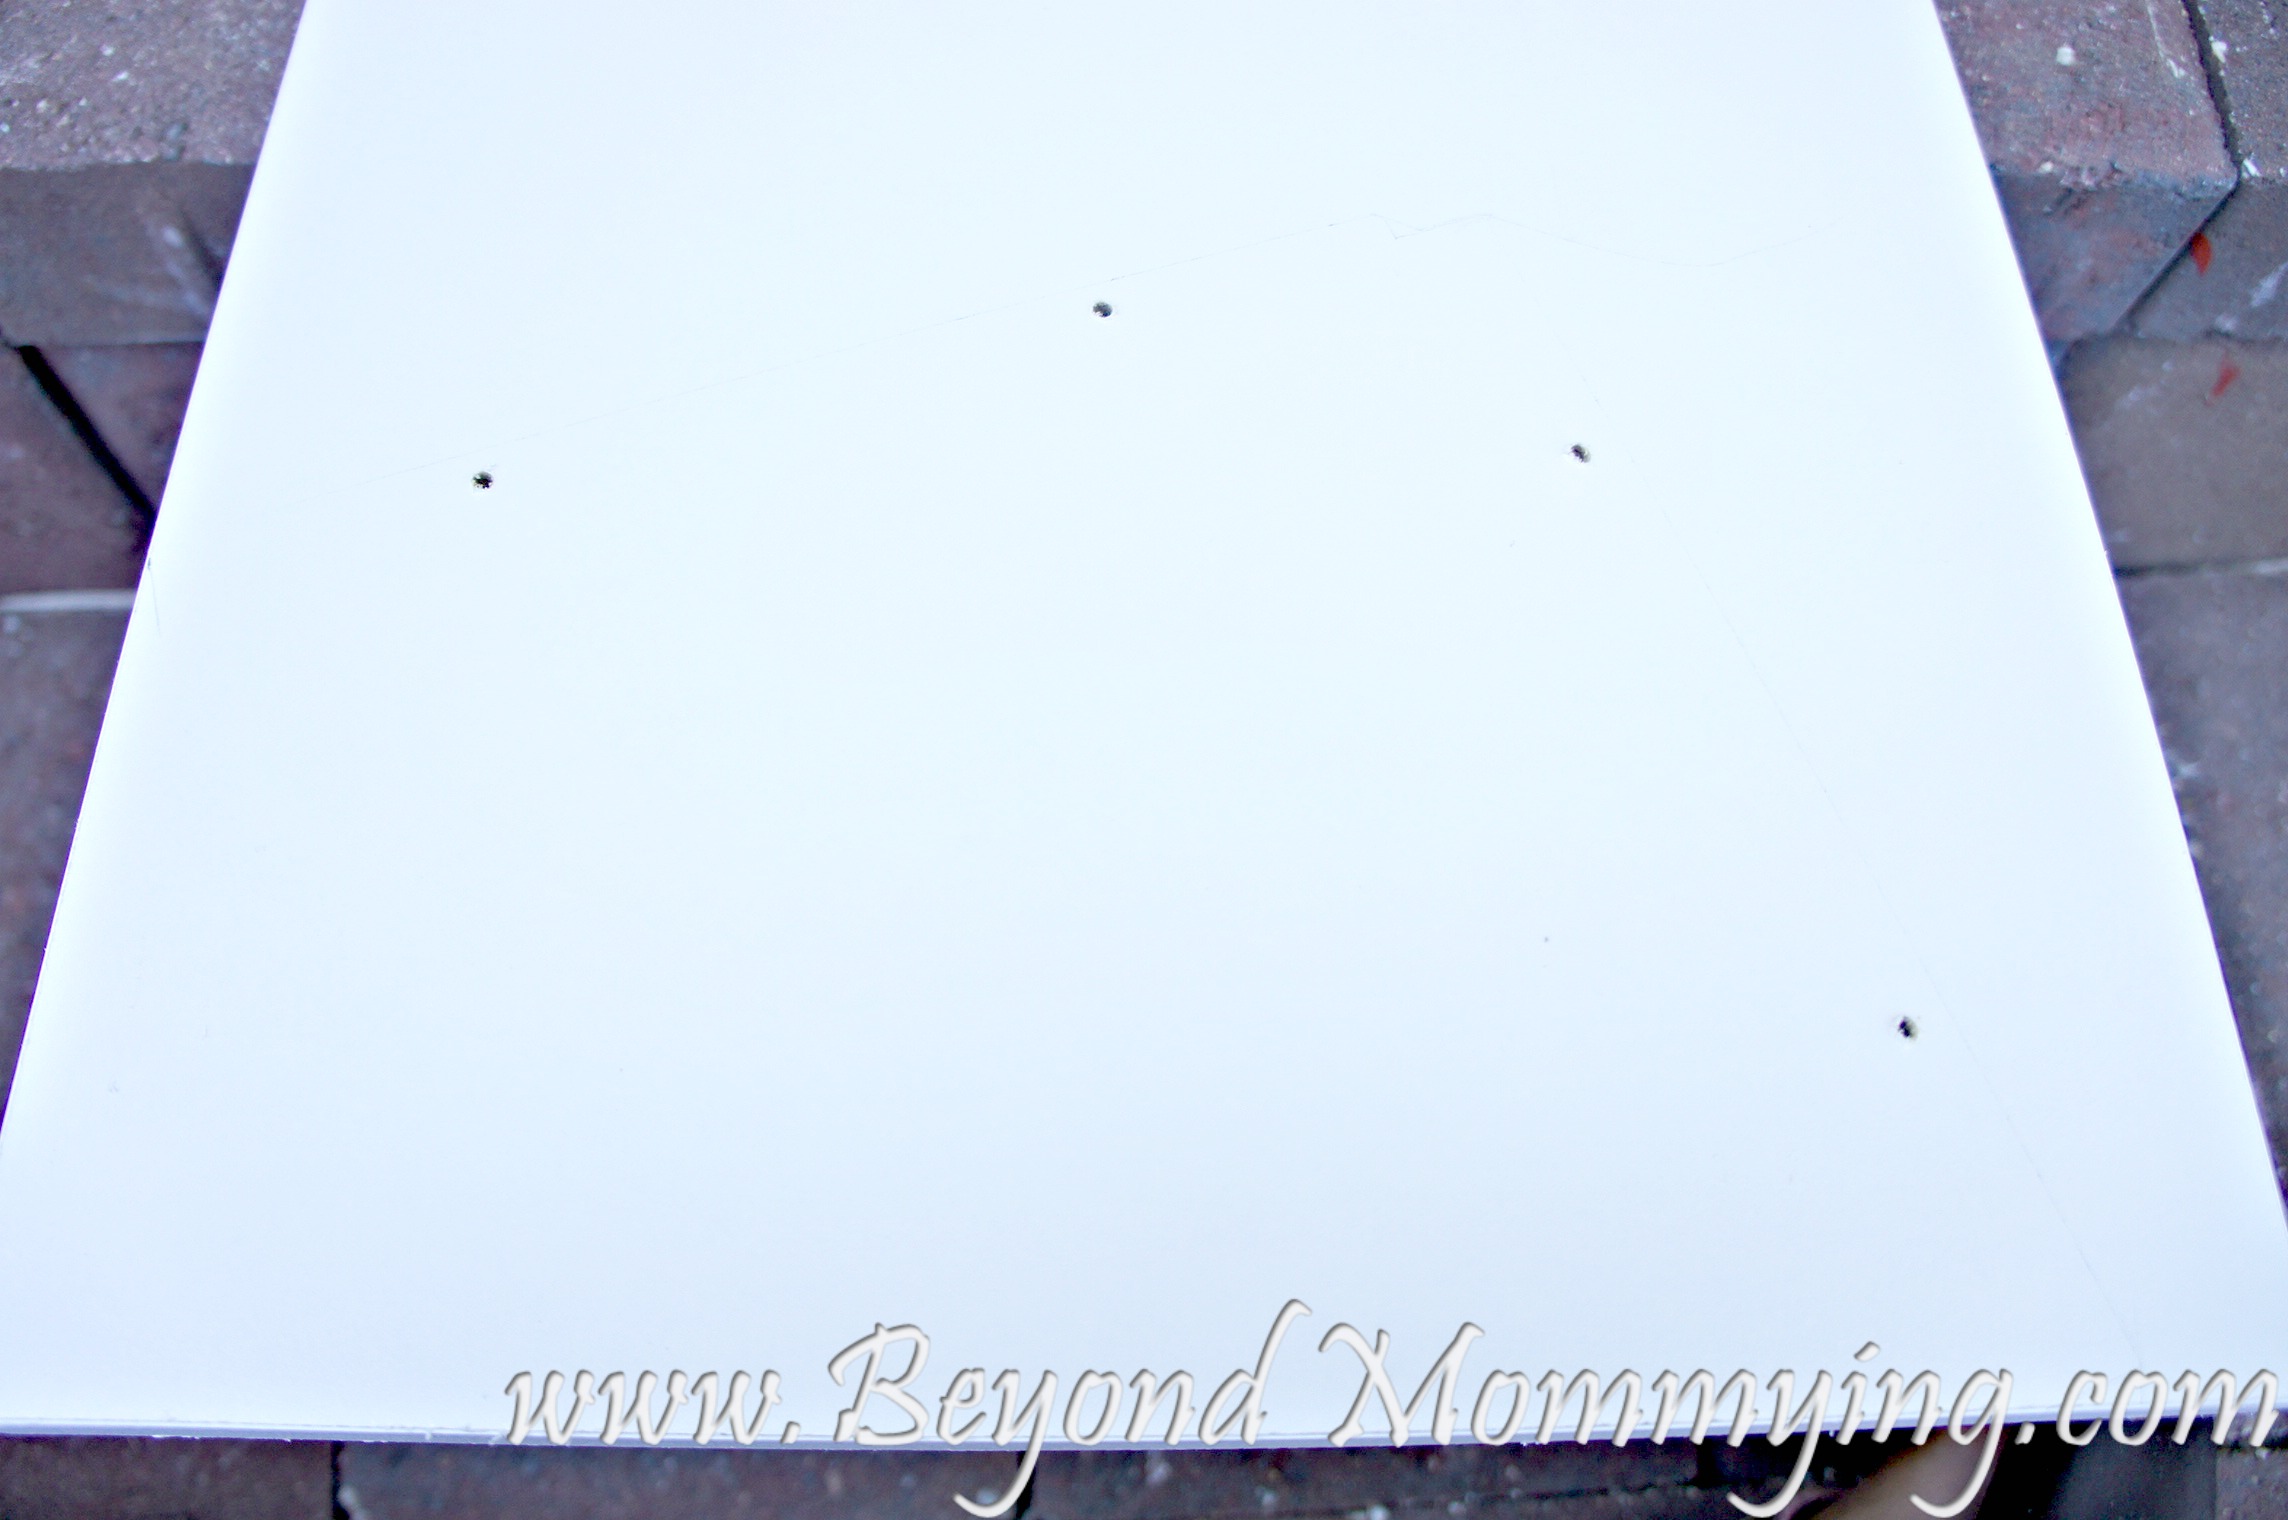
- Use 2″ wood screws through the pre-drilled holes into the end of each L-shaped shelf. This is easiest if the shelves are standing up and the larger shelf you drew on is sitting on top, look through the holes before screwing to ensure the shelf is fully lined up and screw straight down.
- Lay a length of rolled paper (or papertowels) on top of the bigger shelf, with one edge even with the edge of the shelf, and mark where each screw is placed with a permanent marker.
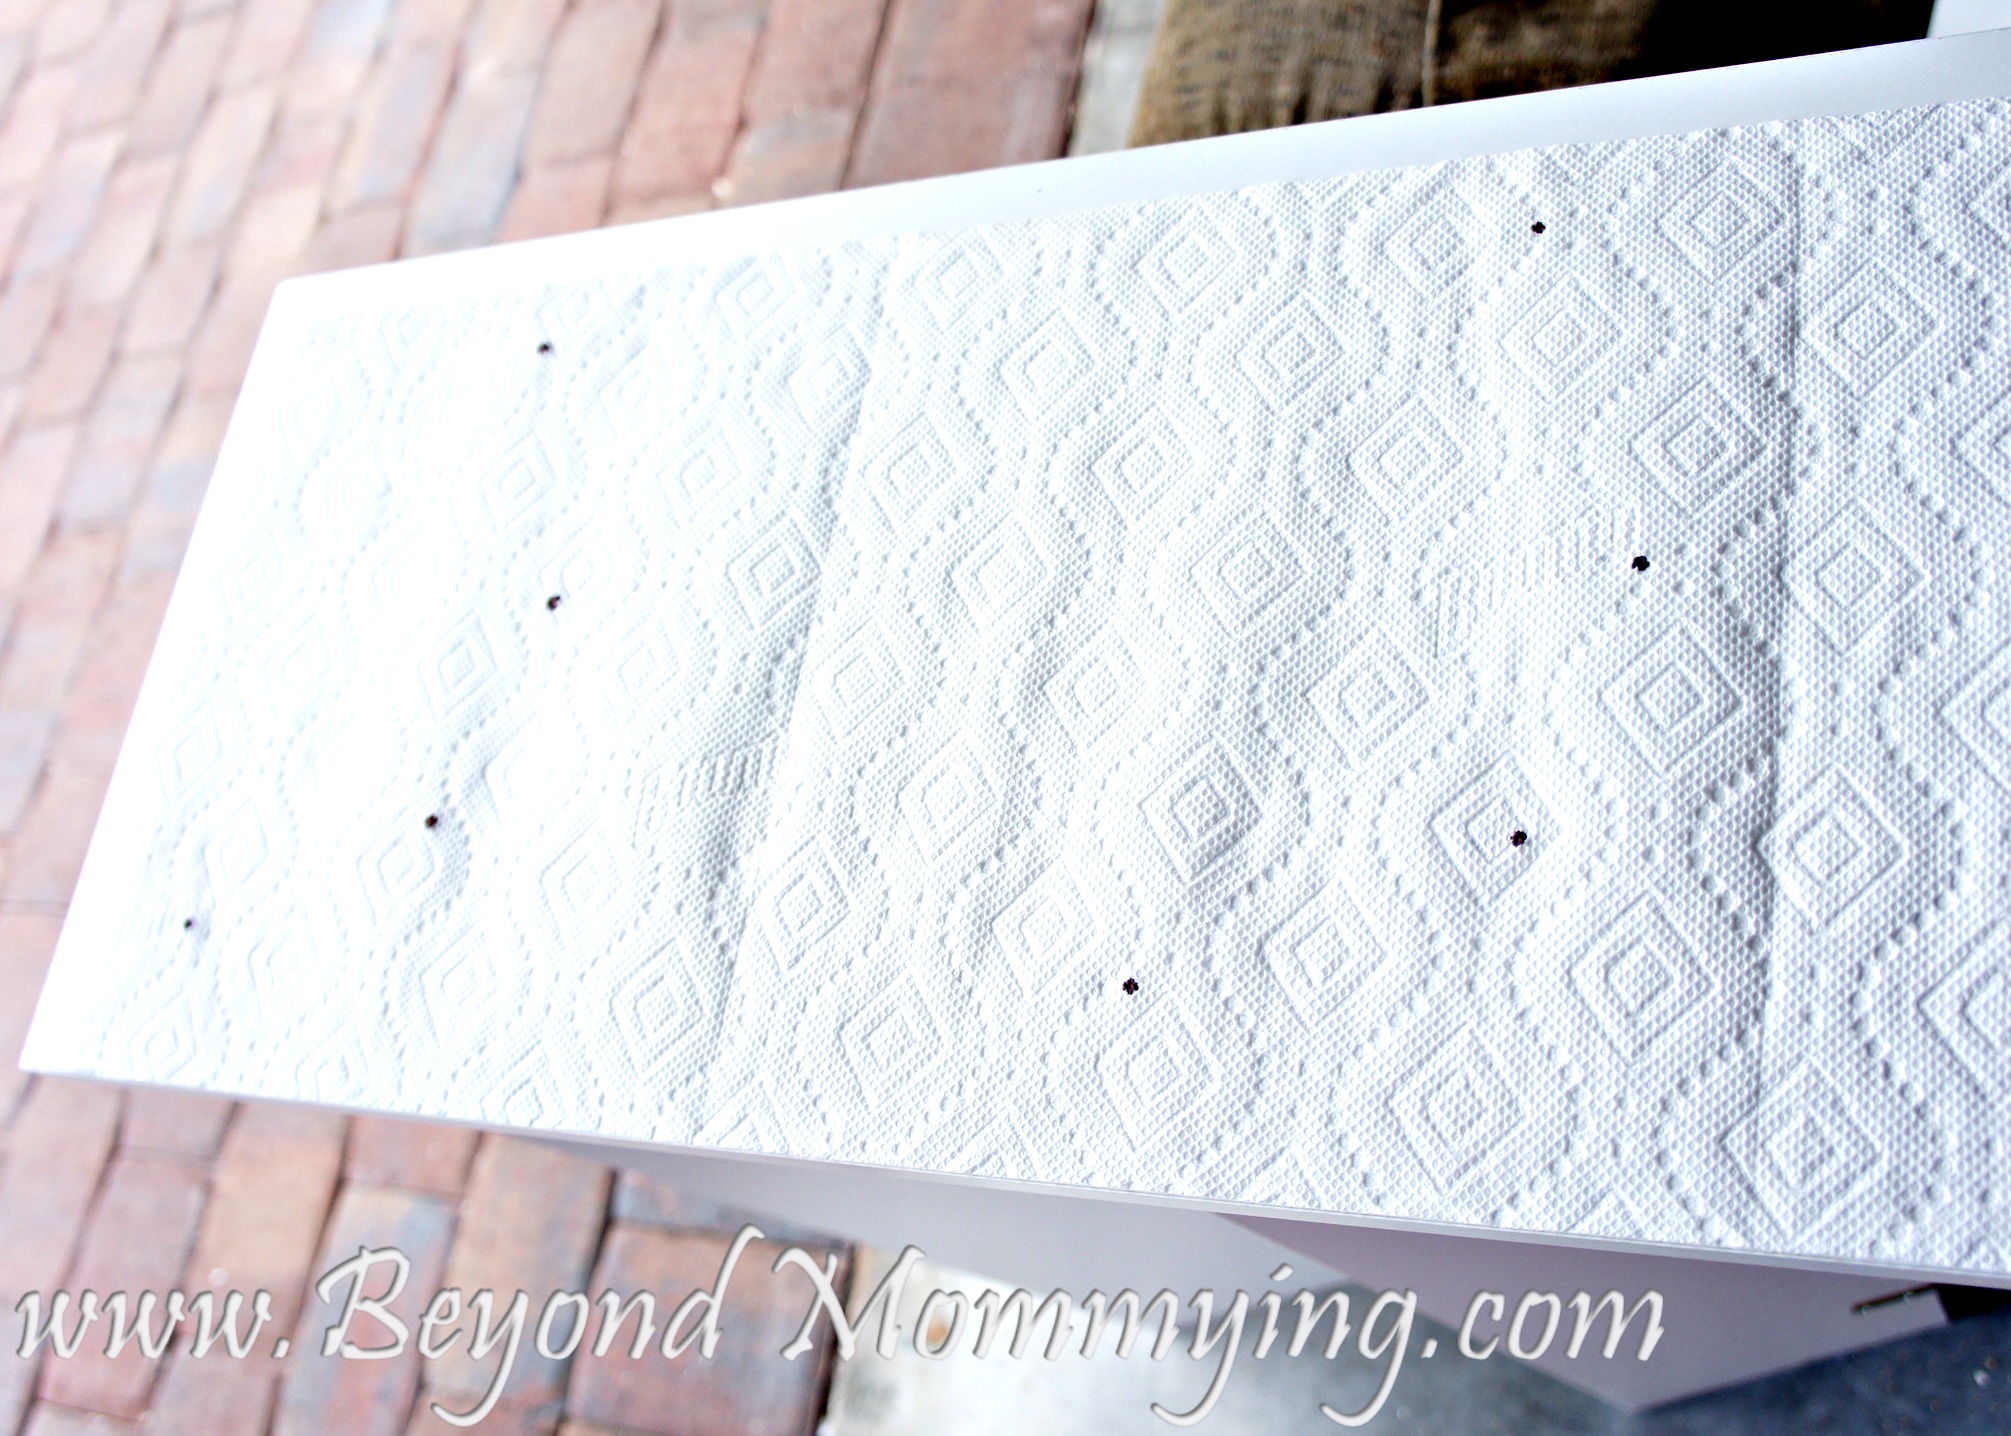
- Turn the large end down so the L-shaped shelves are sticking straight up and place the second long board on top.
- Lay the marked paper on top of the second long shelf, lining up the edge (visually ensure the holes line up with where the shelf boards are) and tape the paper down.
- Drill through each dot on the paper and through the 2nd larger shelf.
- Align the 2nd side onto the top of the L-shaped shelves and screw together as in step 4.
Pin it!

