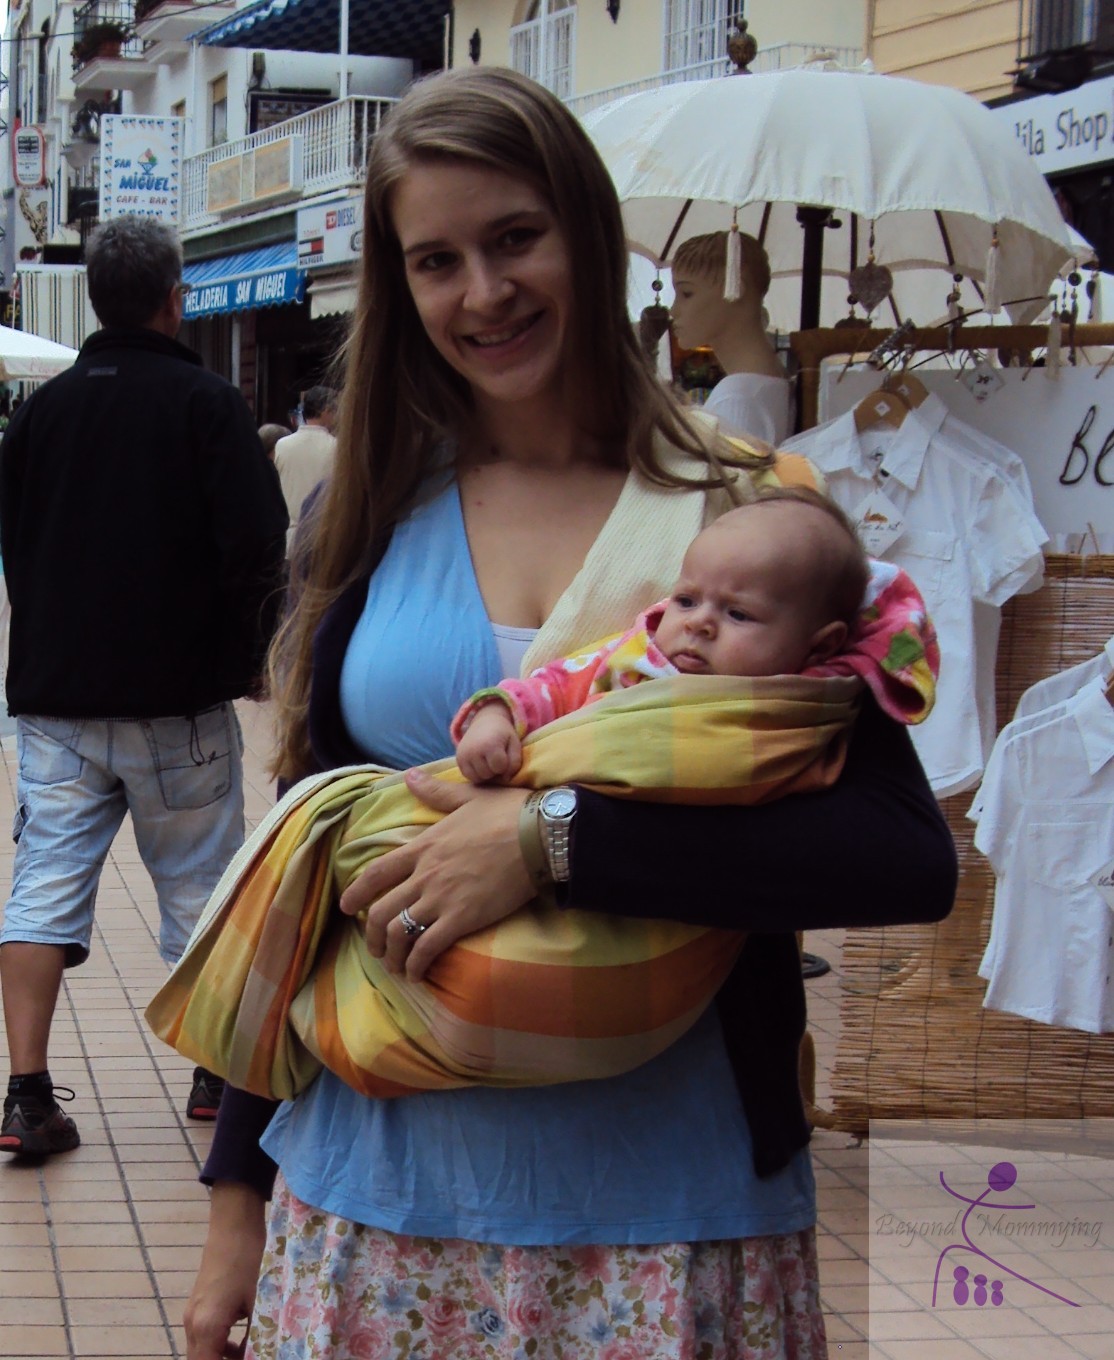
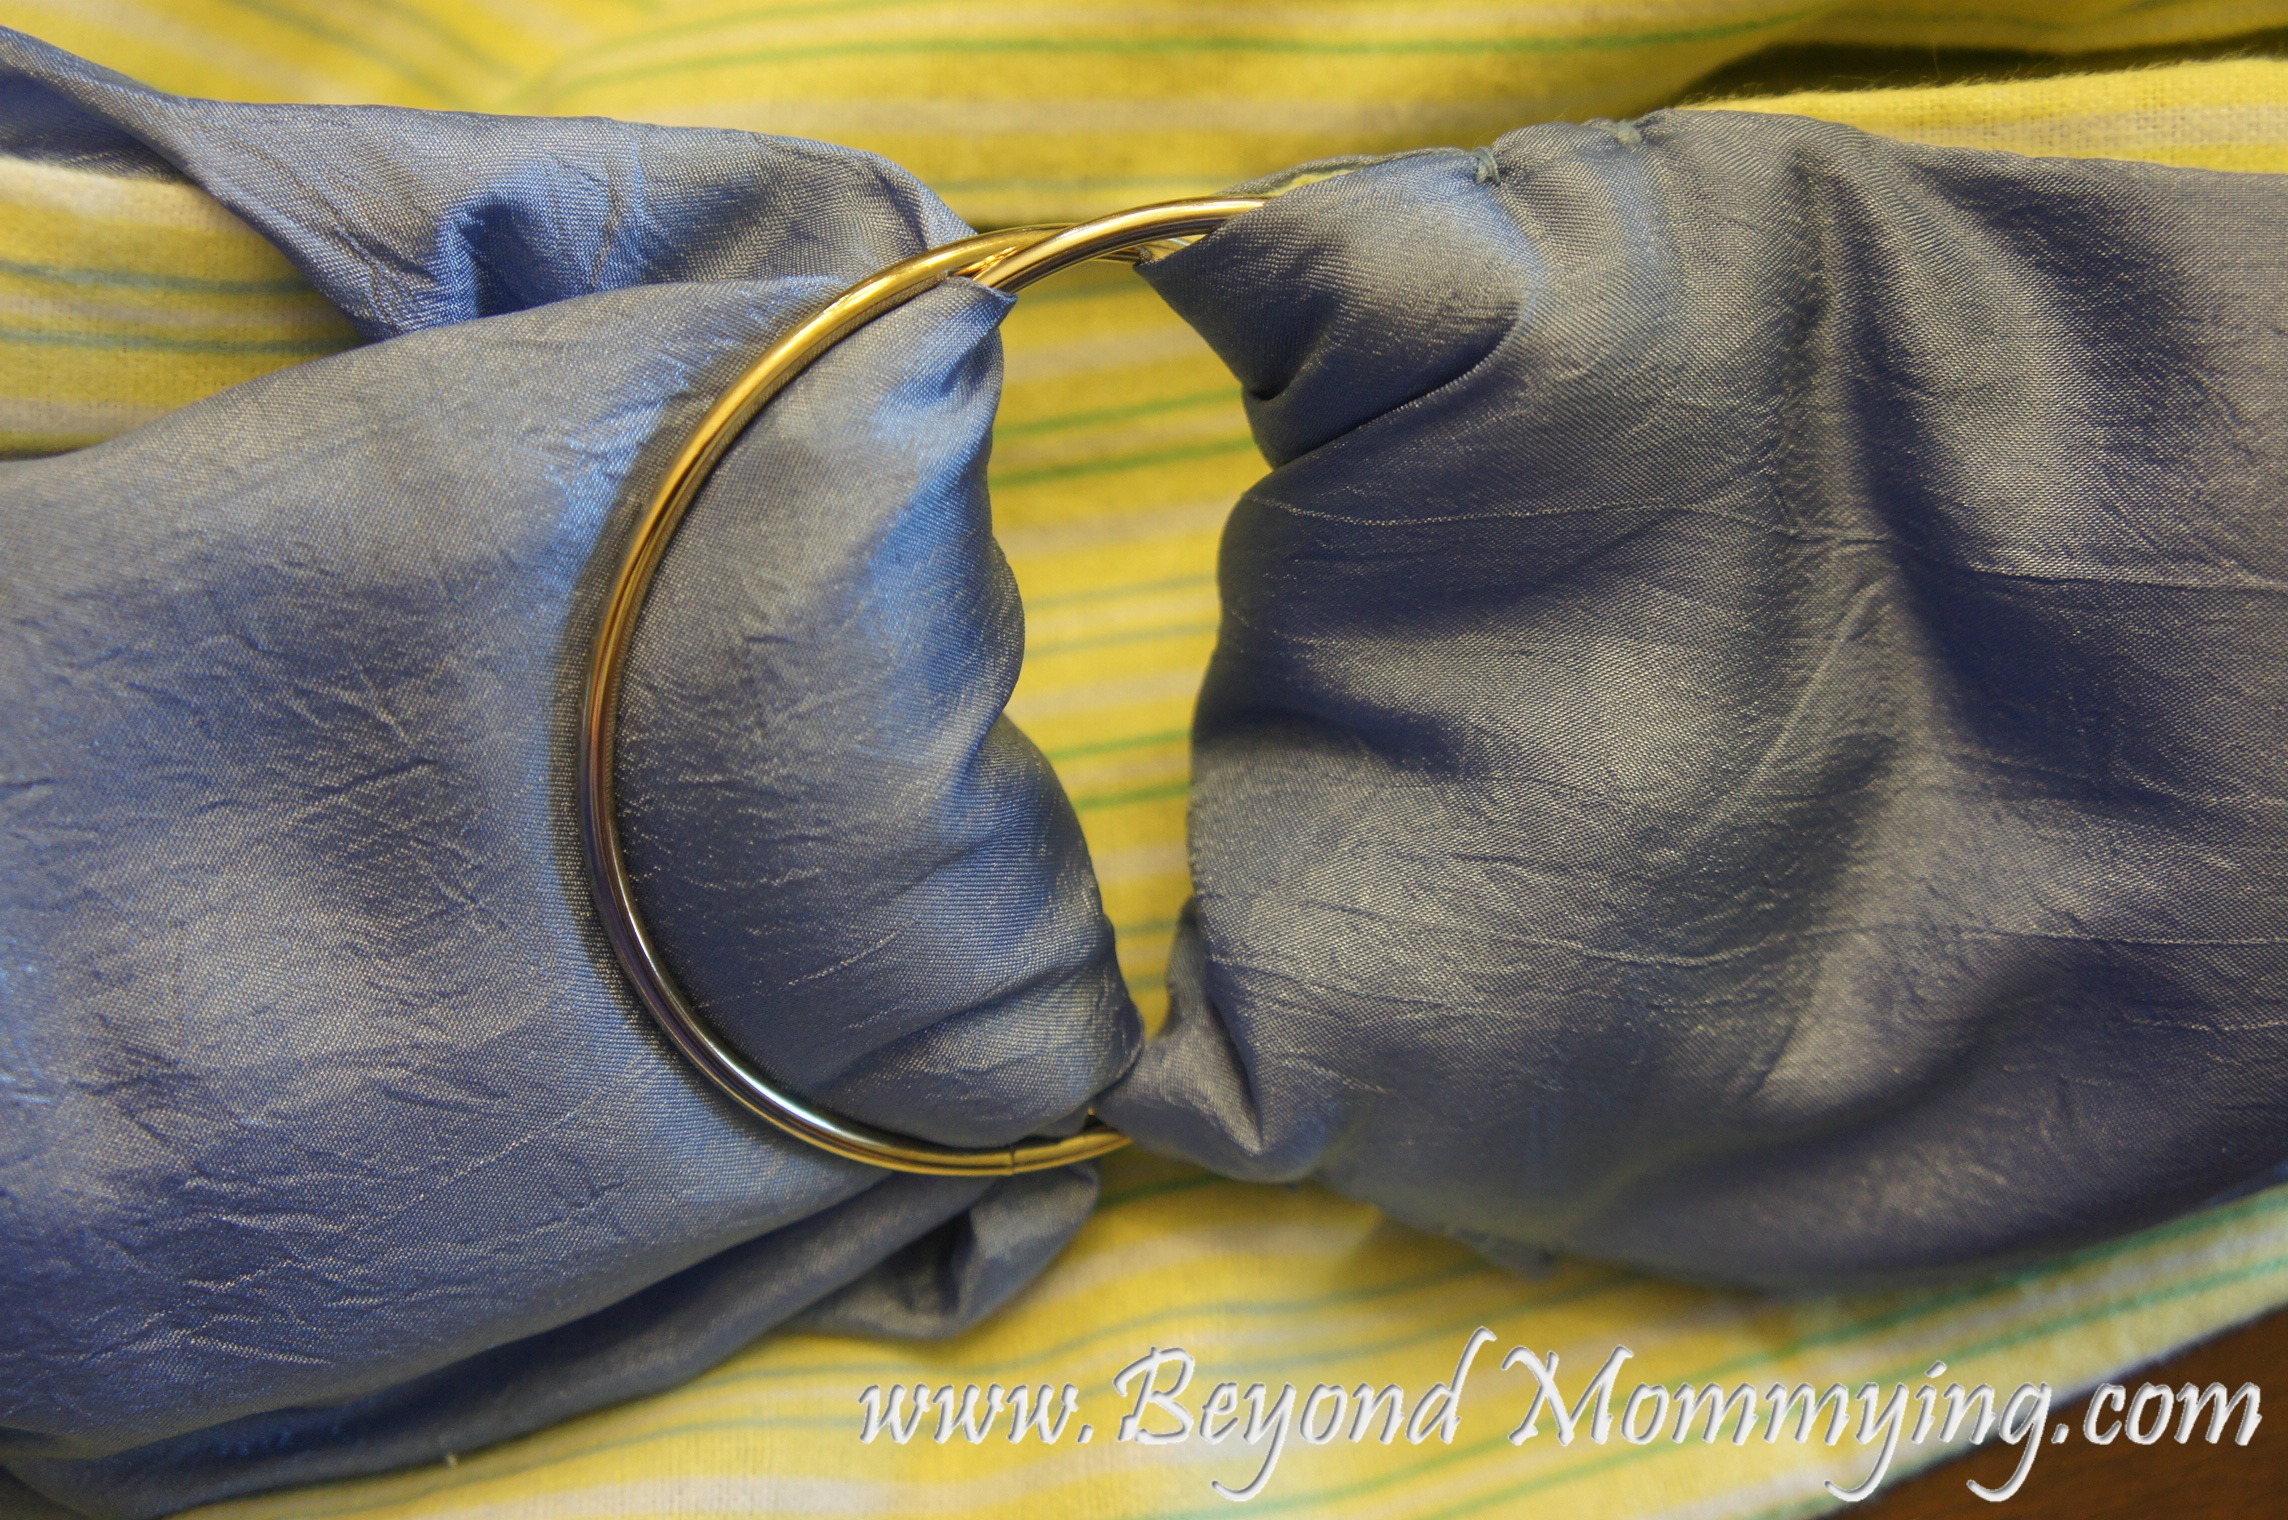
When I was pregnant with Honeybun and taking a hypnobirthing class at a local women’s wellness center, I saw ring slings for sale in the center’s gift shop. I thought they were a great idea for baby carrying but couldn’t justify the $65+ price tag. So I decided to make my own and I can truthfully say it is one of a very few baby things I could not survive without!
With all 3 babies I have used my sling almost every time I leave the house. I use it for baby wearing/carrying when shopping as well as for nursing. I’ve even used it for toddler carrying on occasion. It has also become my go-to baby shower gift, I make one for every friend I know who is having a baby (if you’re interested in buying one for yourself or a friend, I also sell them. Contact me at beyondmommying@gmail.com).
I also have a Baby Bjorn type carrier and a seven sling but my ring sling is my go to carrier of choice. There are a ton of online tutorials on how to use a ring sling, but I have my own methods that I find work better for me and my babies. Most tutorials tell you to put the tail in front but I find it gets in the way so I always put mine in the back with the rings just behind my shoulder.
When carrying a young baby, I put the rings on the side where I want to put baby’s head and fold the sling in half, creating a pouch to put baby. I then hold baby under the arms with one hand while pulling open the sling with the other and set baby in butt first then ease baby’s back and head into the area near my armpit. I always like to have baby’s face out of the fabric unless he/she is feeding or it is rainy or windy. When carrying a young or sleeping baby make sure their chin does not rest on their chest as this can restrict their breathing.
Older infants can sit in the sling. I use basically the same procedure as above but don’t lay the baby down, I let him/her stay upright, usually with hos/her arms out of the sling. (It may not seem like it, but this is a very secure position and it is possible to do without having a hand on the baby but I personally like to have one hand on the baby whenever possible.)

With toddlers (and even older children) you can use the sling to hold the child in a hip-carried position. For this one, put the rings on the shoulder opposite of the hip you will be putting the child on and scoop the fabric pouch under the child’s bum and up their back to support the child.

I have found 3 different ways to nurse with my ring sling. Each baby and I have had a different preference for how to nurse in the sling:
1) Honeybun liked to nurse in basically the first laying position I described, with her head on the ring side and bum scooped in the sling though as she got older and taller, her legs extended out of the sling under my opposite arm.
2) Sugarplum liked her head on the opposite side from the rings, with her bum scooped and legs out. This position is much harder to walk with as baby’s head is not supported by the sling.

3) Doodle, like Honeybun, prefers his head on the ring side, but I find it easier to put the sling between his legs. This squishes him less and puts him in a position where I can actually nurse hands free (which is very useful when eating or chasing around/managing big sisters).
I also used to carry Sugarplum facing out, using the sling almost as a front carrier. I would sit her facing out with the sling between her legs and the ring at my waist (opposite side of shoulder sling was on). I would them wrap the tail end around her waist and tie it around the sling on the other side. This required a hand on at all times since it could untie easily and I’ve also since learned it’s not good to let a baby’s legs dangle so I probably won’t be trying this one with Doodle but might try to work out a modified version for him so he can face out and see the world while still being properly supported.

And sometimes baby just ends up in random positions and as long as we are both comfy, I just leave it.


