I like to decorate for each holiday. I have a rotating collection of decorations that I’ve collected over the years. Many things are cute little things I’ve picked up through the years accented by handmade crafts by the kids. But I don’t like to spend a lot of money on decorations and it keeps getting harder and harder to find affordable items to put around the house. So this year, I decided to make a few of my own to fill in the gaps for Easter.
Plastic Egg Wreath
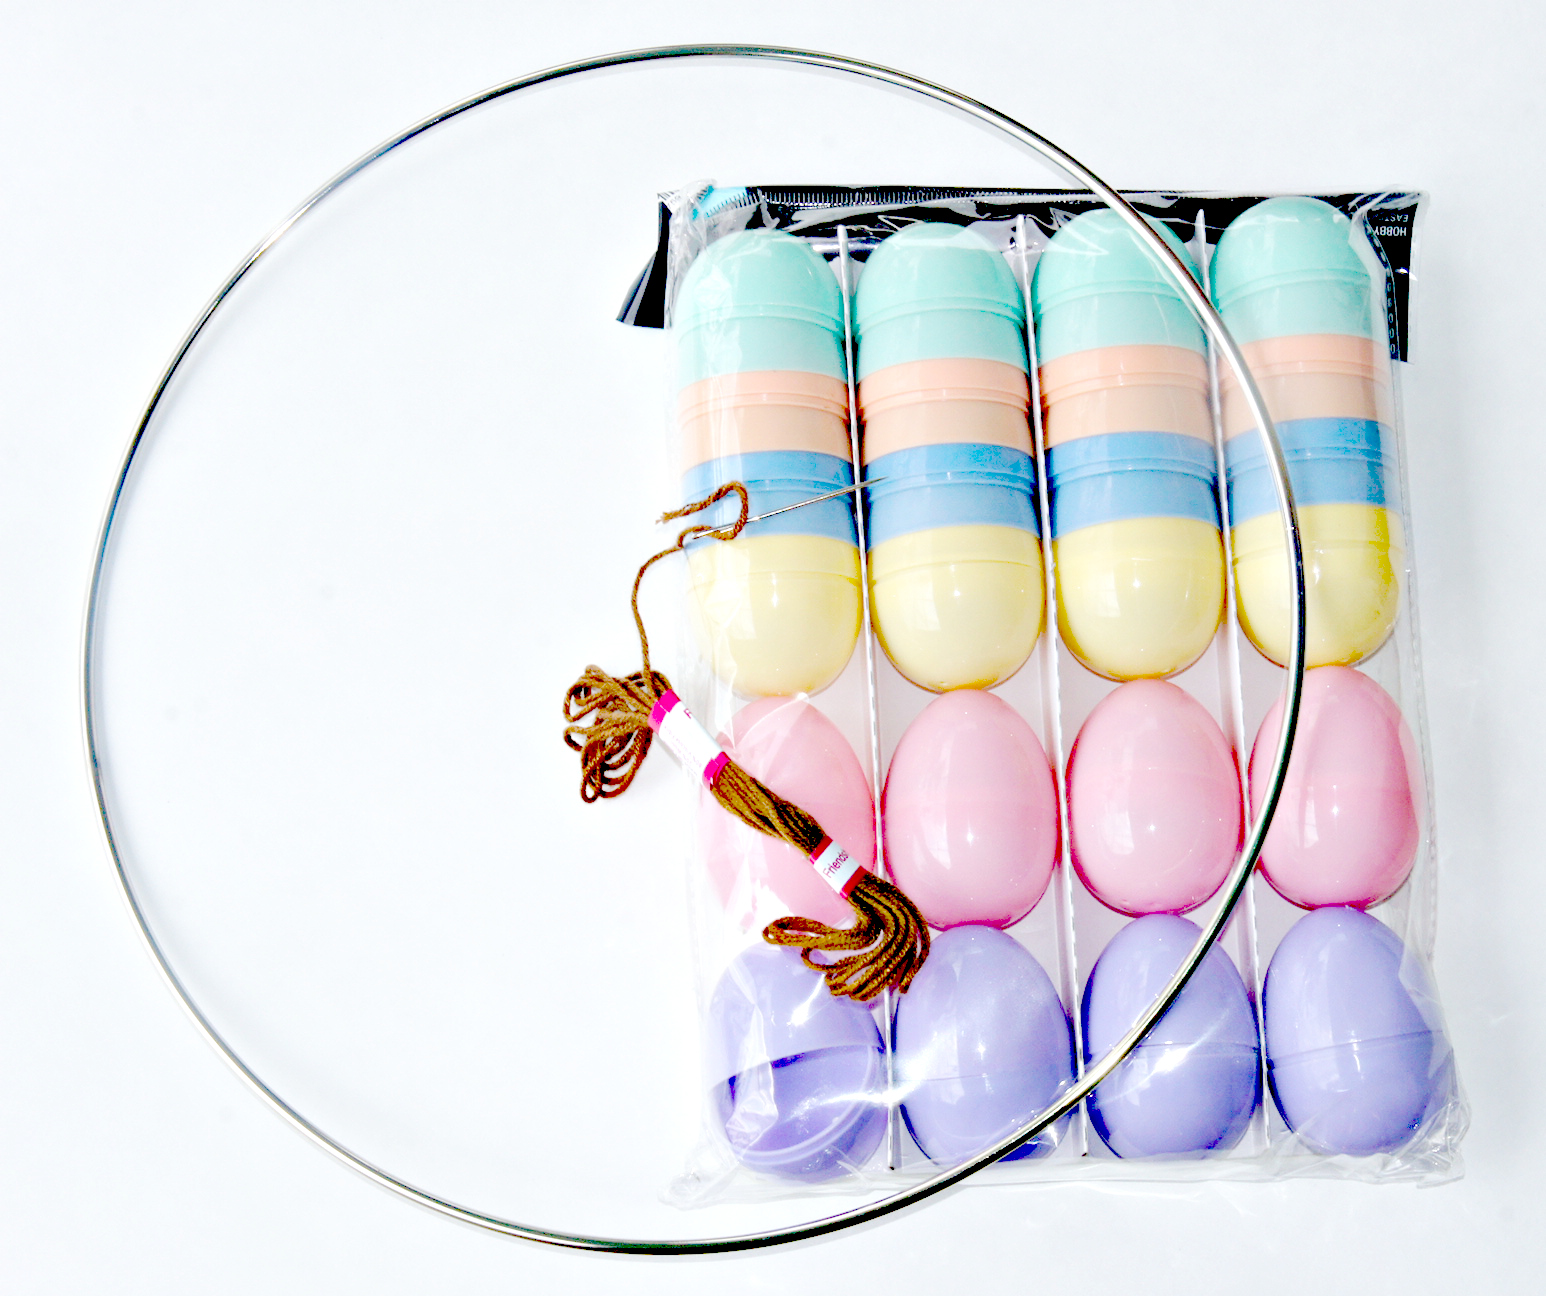
Supplies: Plastic eggs with two holes in each end, metal hoop, embroidery thread
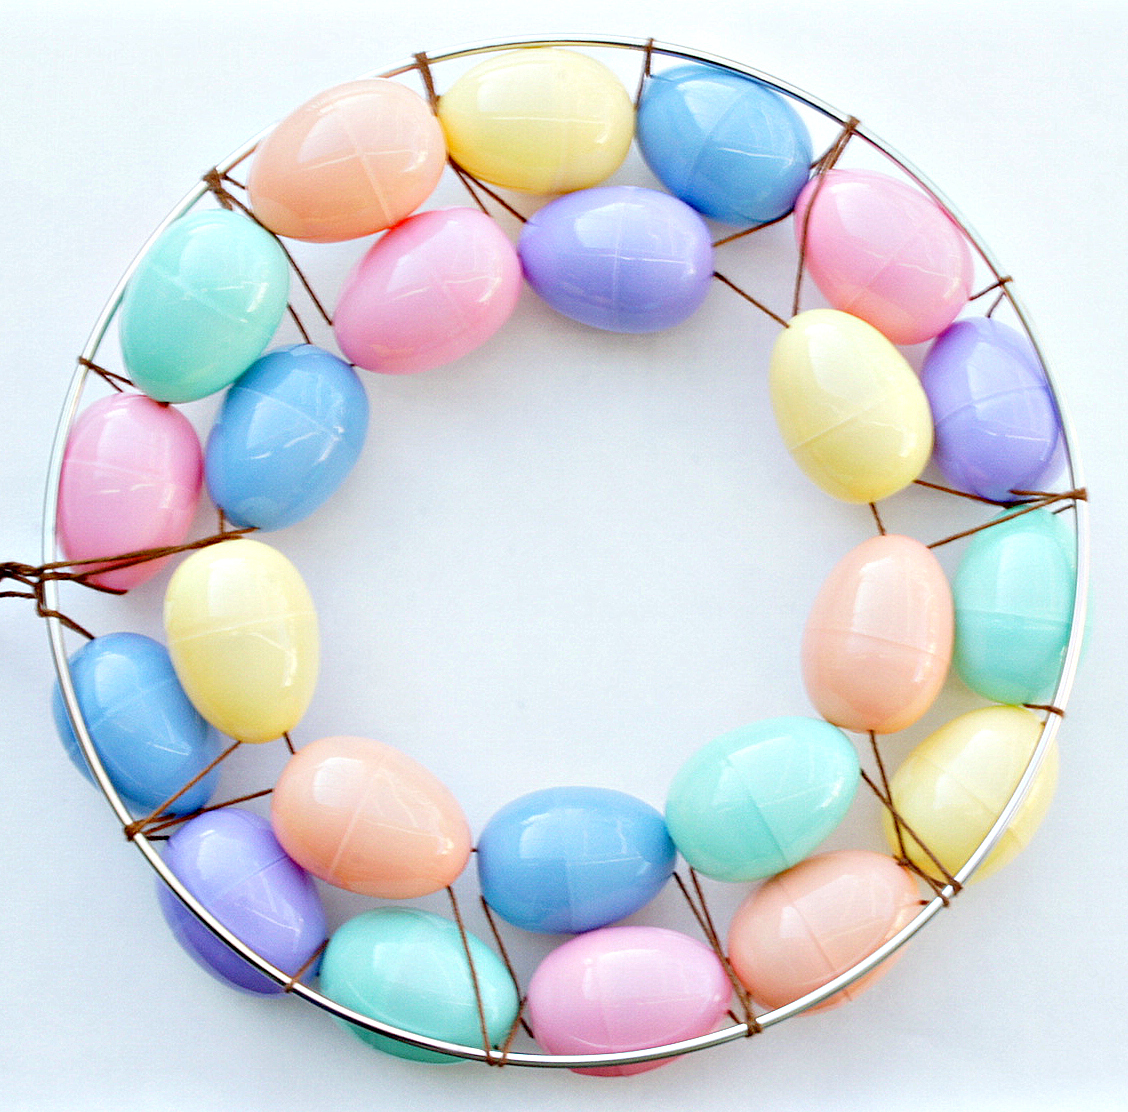
Thread the embroidery thread through the bottom of each egg and the the top and snap together (go through both holes on each end). Wrap on string around the hoop and thread the next egg. Be sure to wrap around the hoop and pull the strings tight between each egg or you’ll be unthreading and re-doing! If you have enough eggs, do a 2nd row inside the first. (Below: backside of the wreath)
Bunny Chain
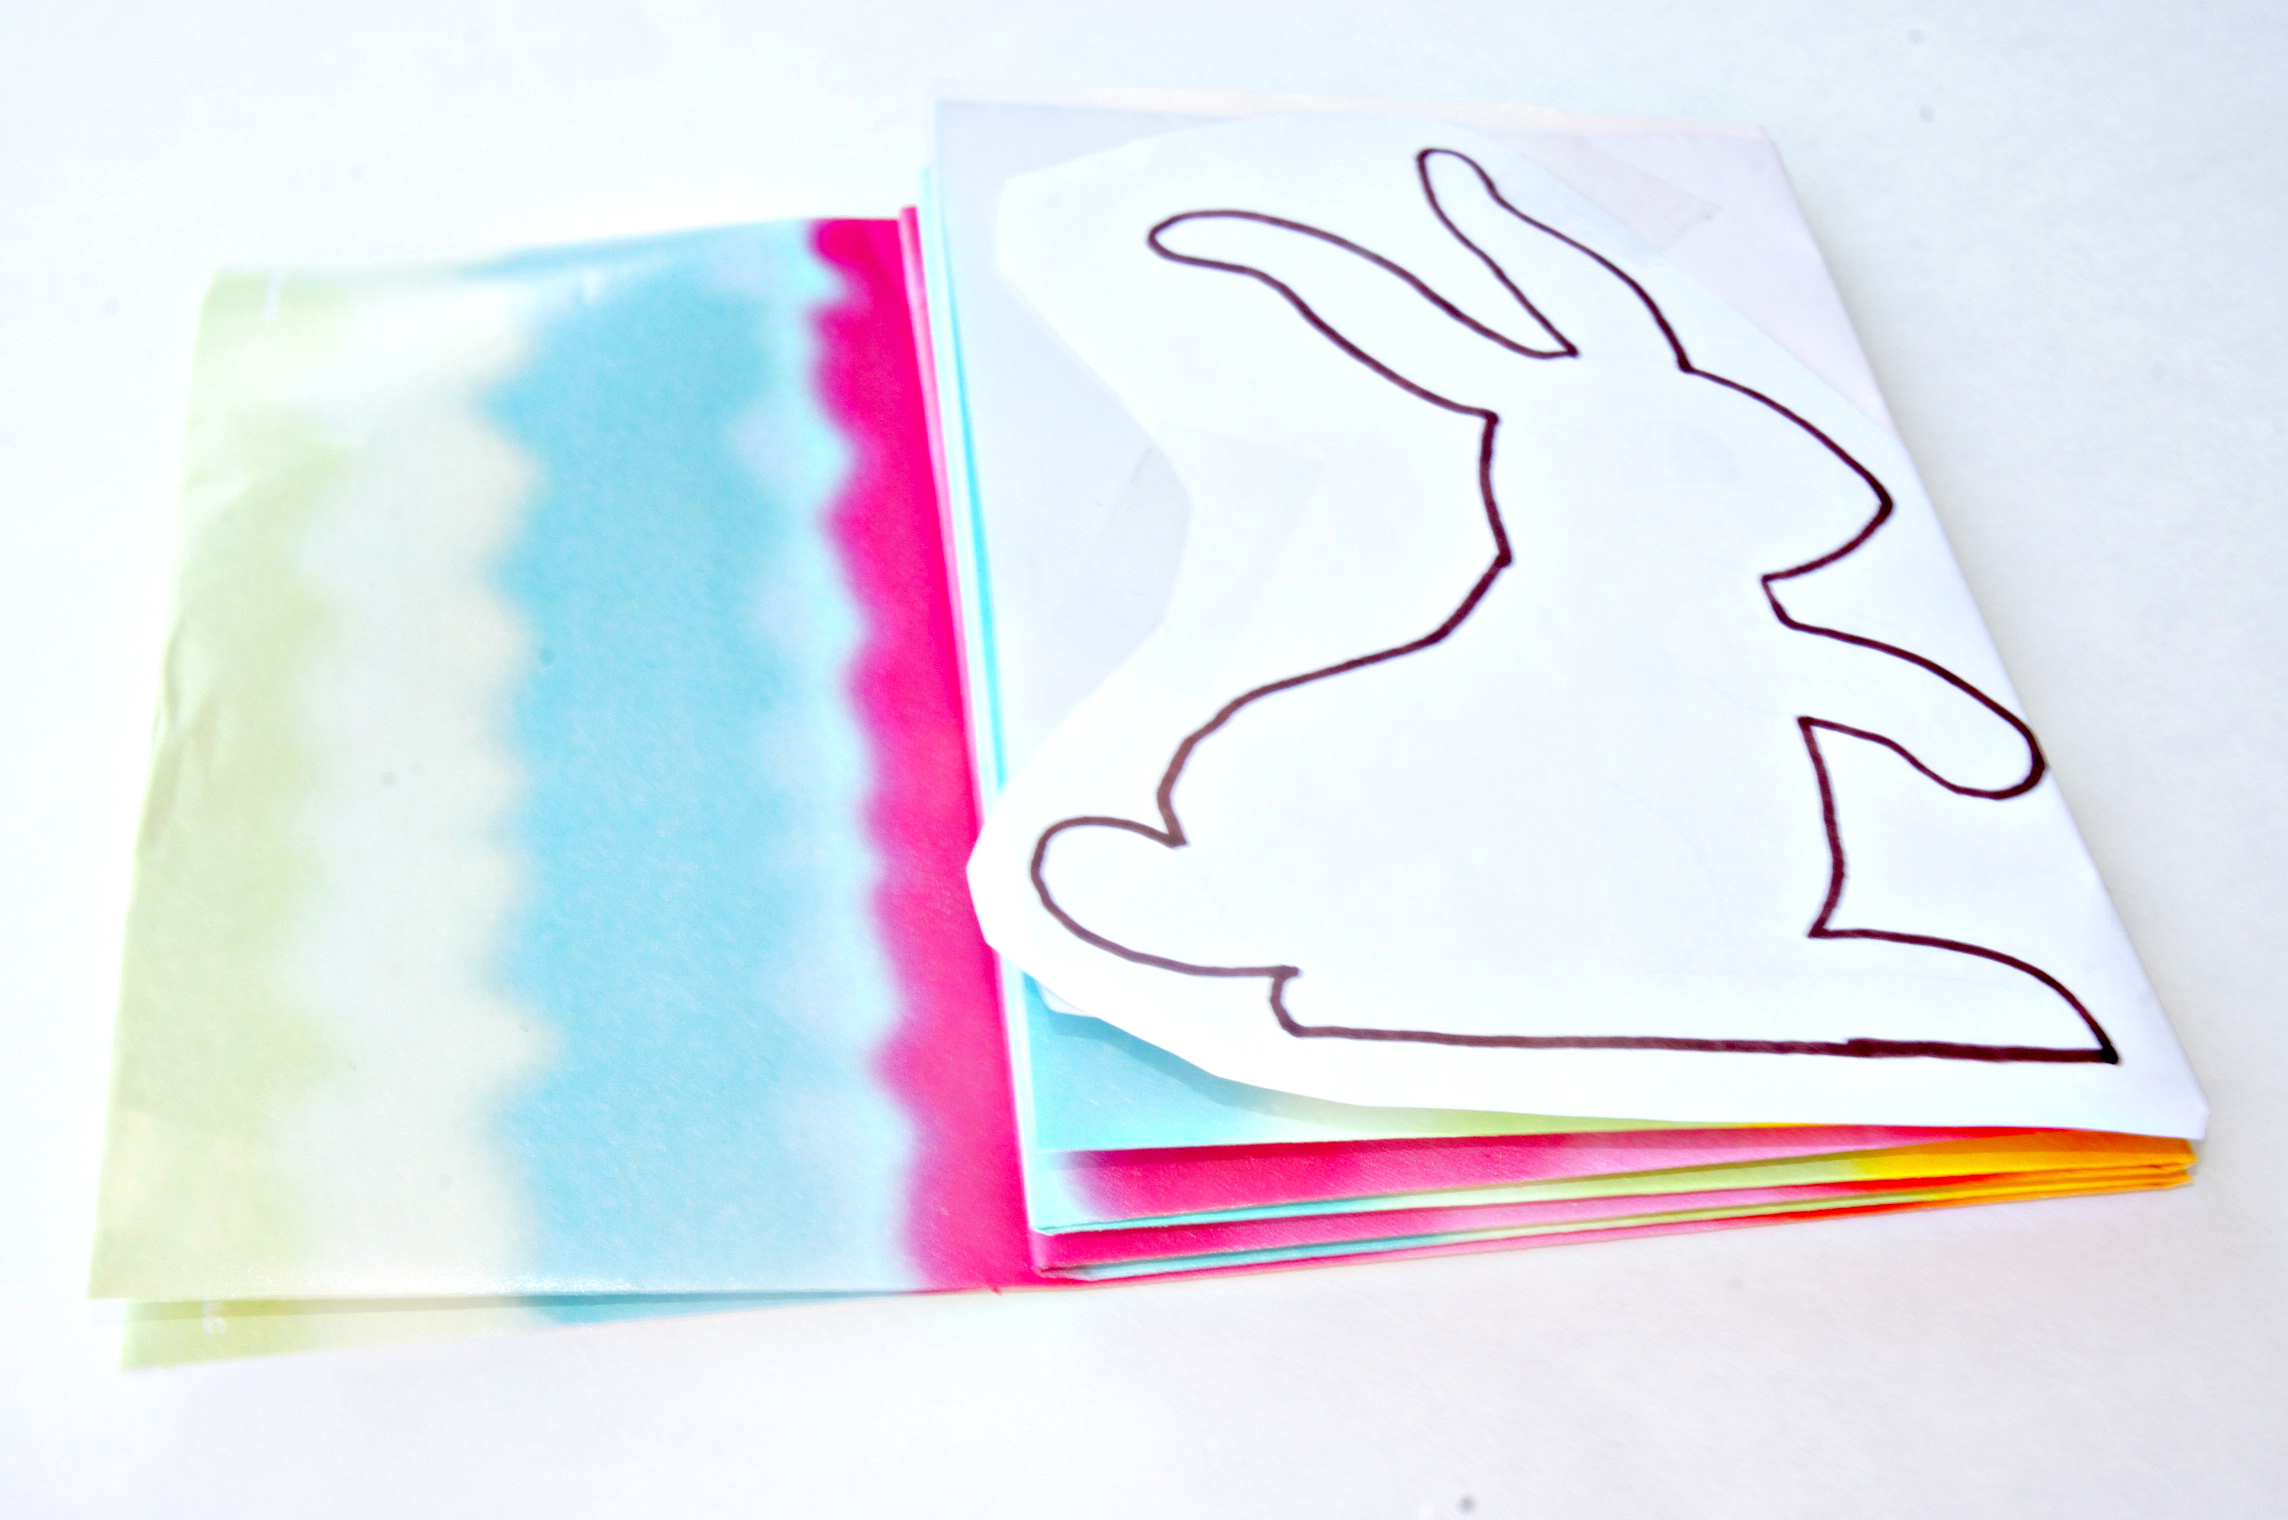
Supplies: Eastery Wrapping paper, scissors, Bunny Chain Pattern (click for pattern download)
Trim a piece of paper off the roll slightly wider than the bunny is tall (or, if you want to do multiple lengths at once, fold the paper slightly wider than the height of the bunny then cut it off the roll). Cut roughly around the bunny and tape to one corner of the wrapping paper with the tail on the edge. Accordion fold the paper with folds at the bunny paws and bunny tail. Cut around the bunny, making sure to NOT cut the folds where the hands and tail meet the edge. After you’ve cut the entire bunny shape, remove the pattern and unfold.
Decorative Eggs
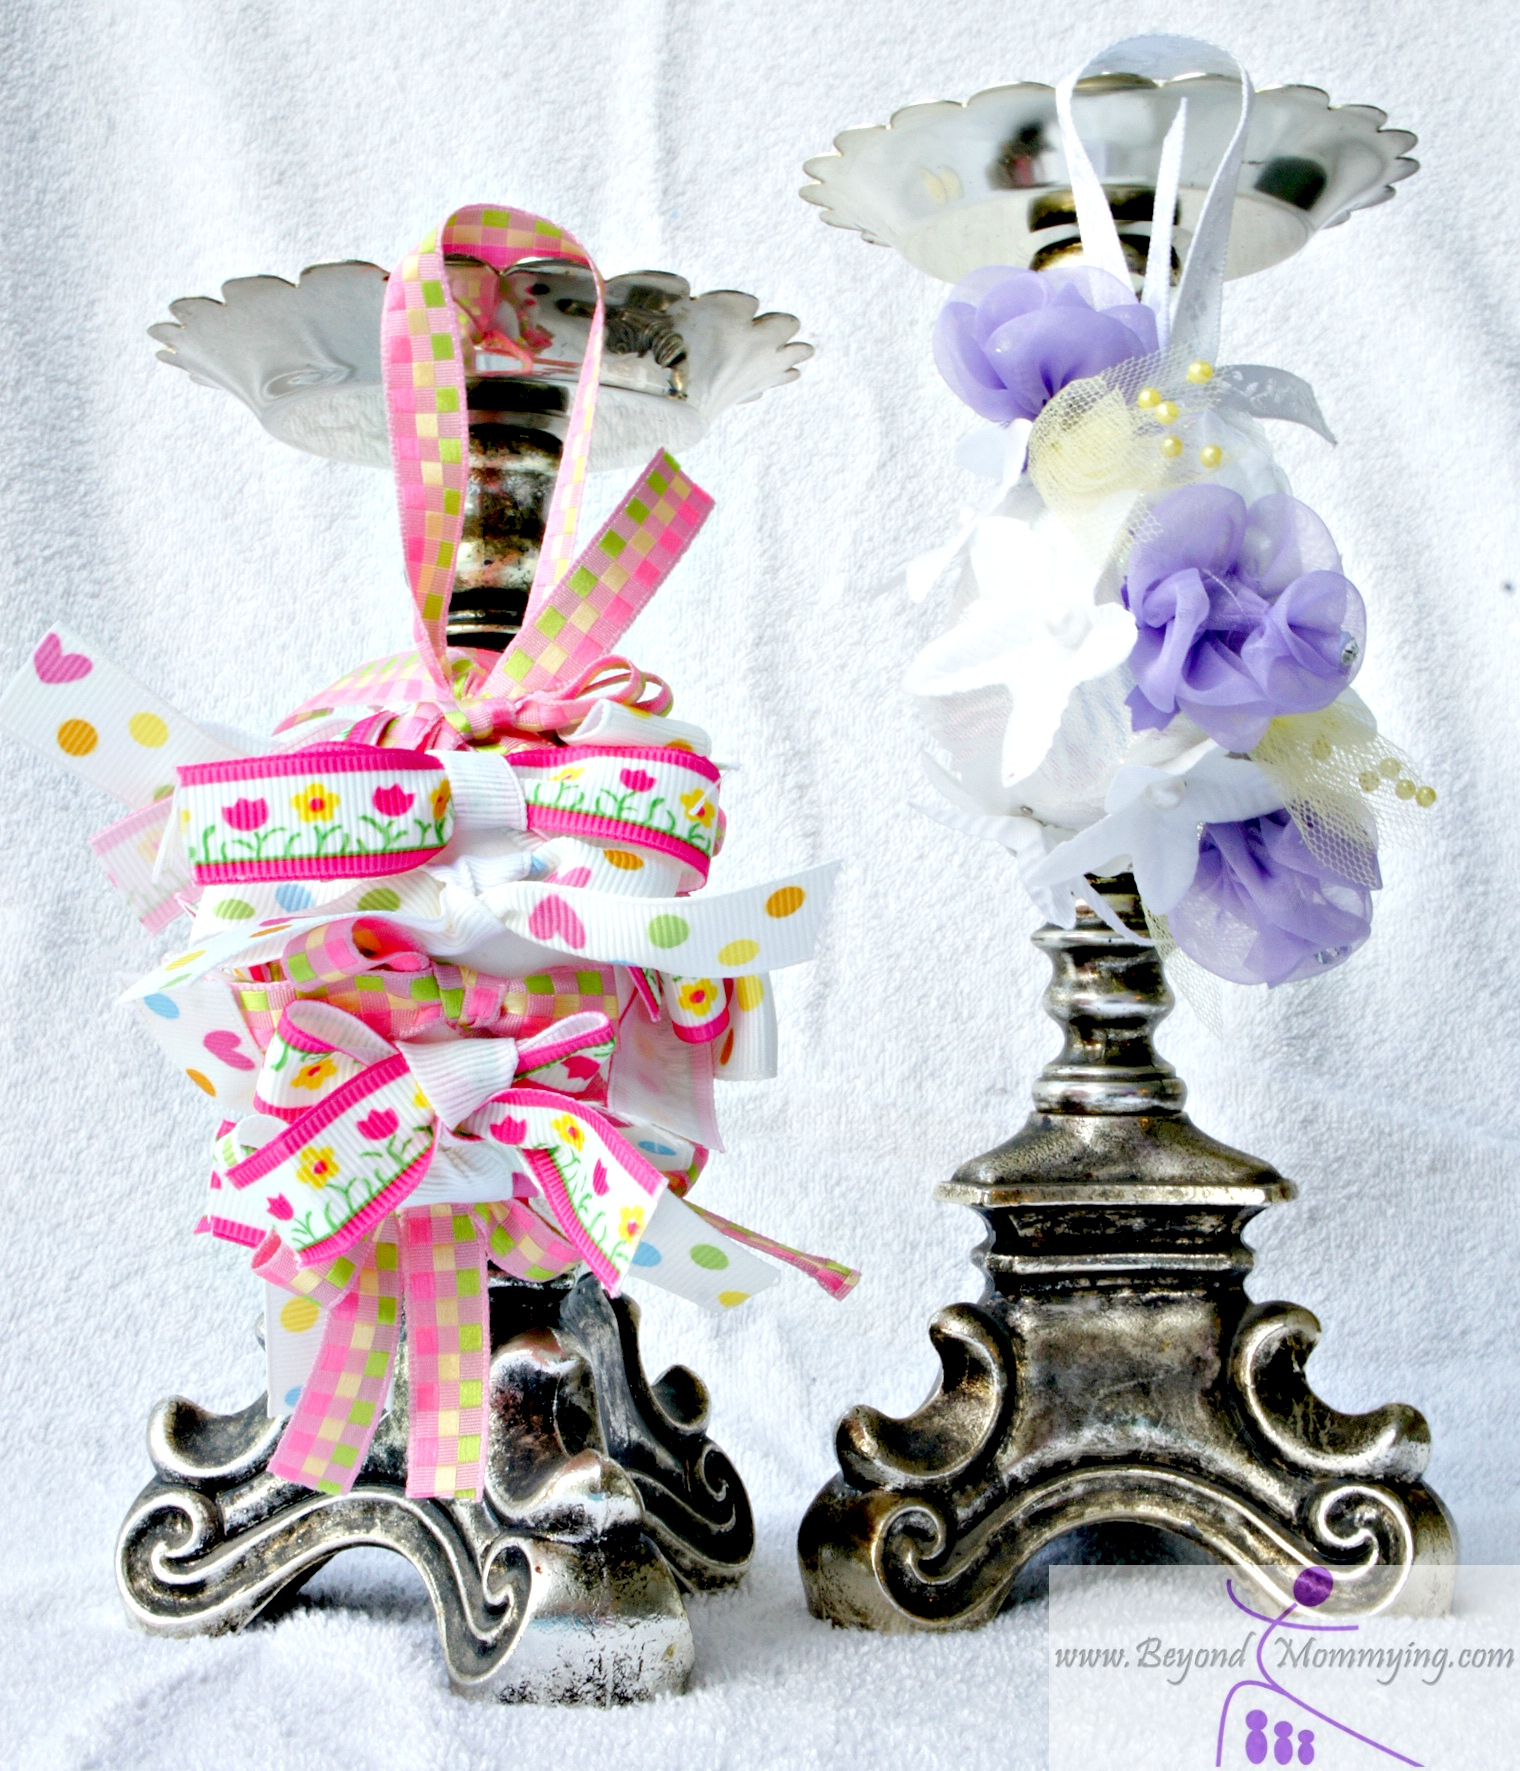
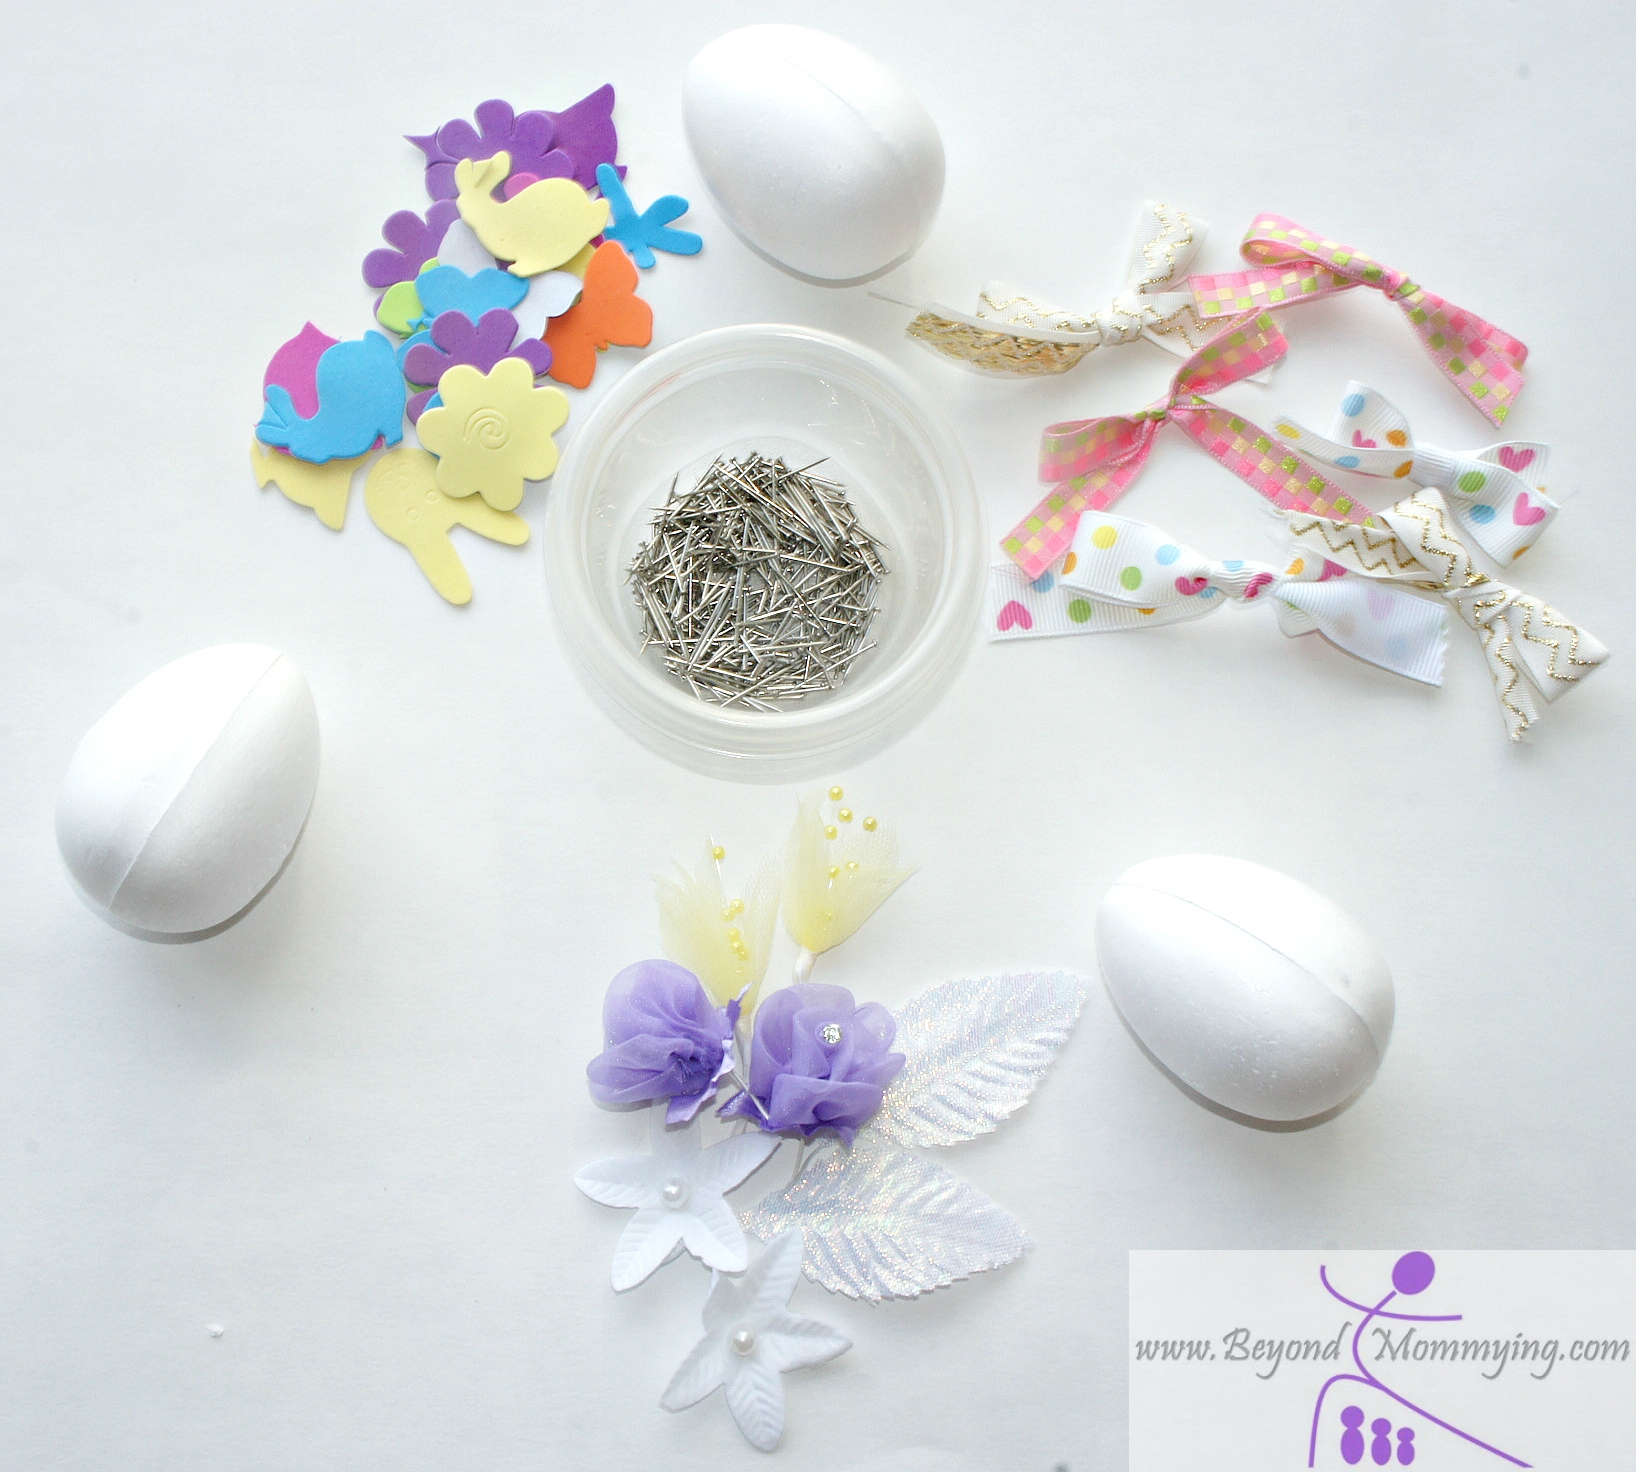
Supplies: Styrofoam Easter Eggs, ribbon, sequin pins, fabric flowers and leaves
For the bow egg:
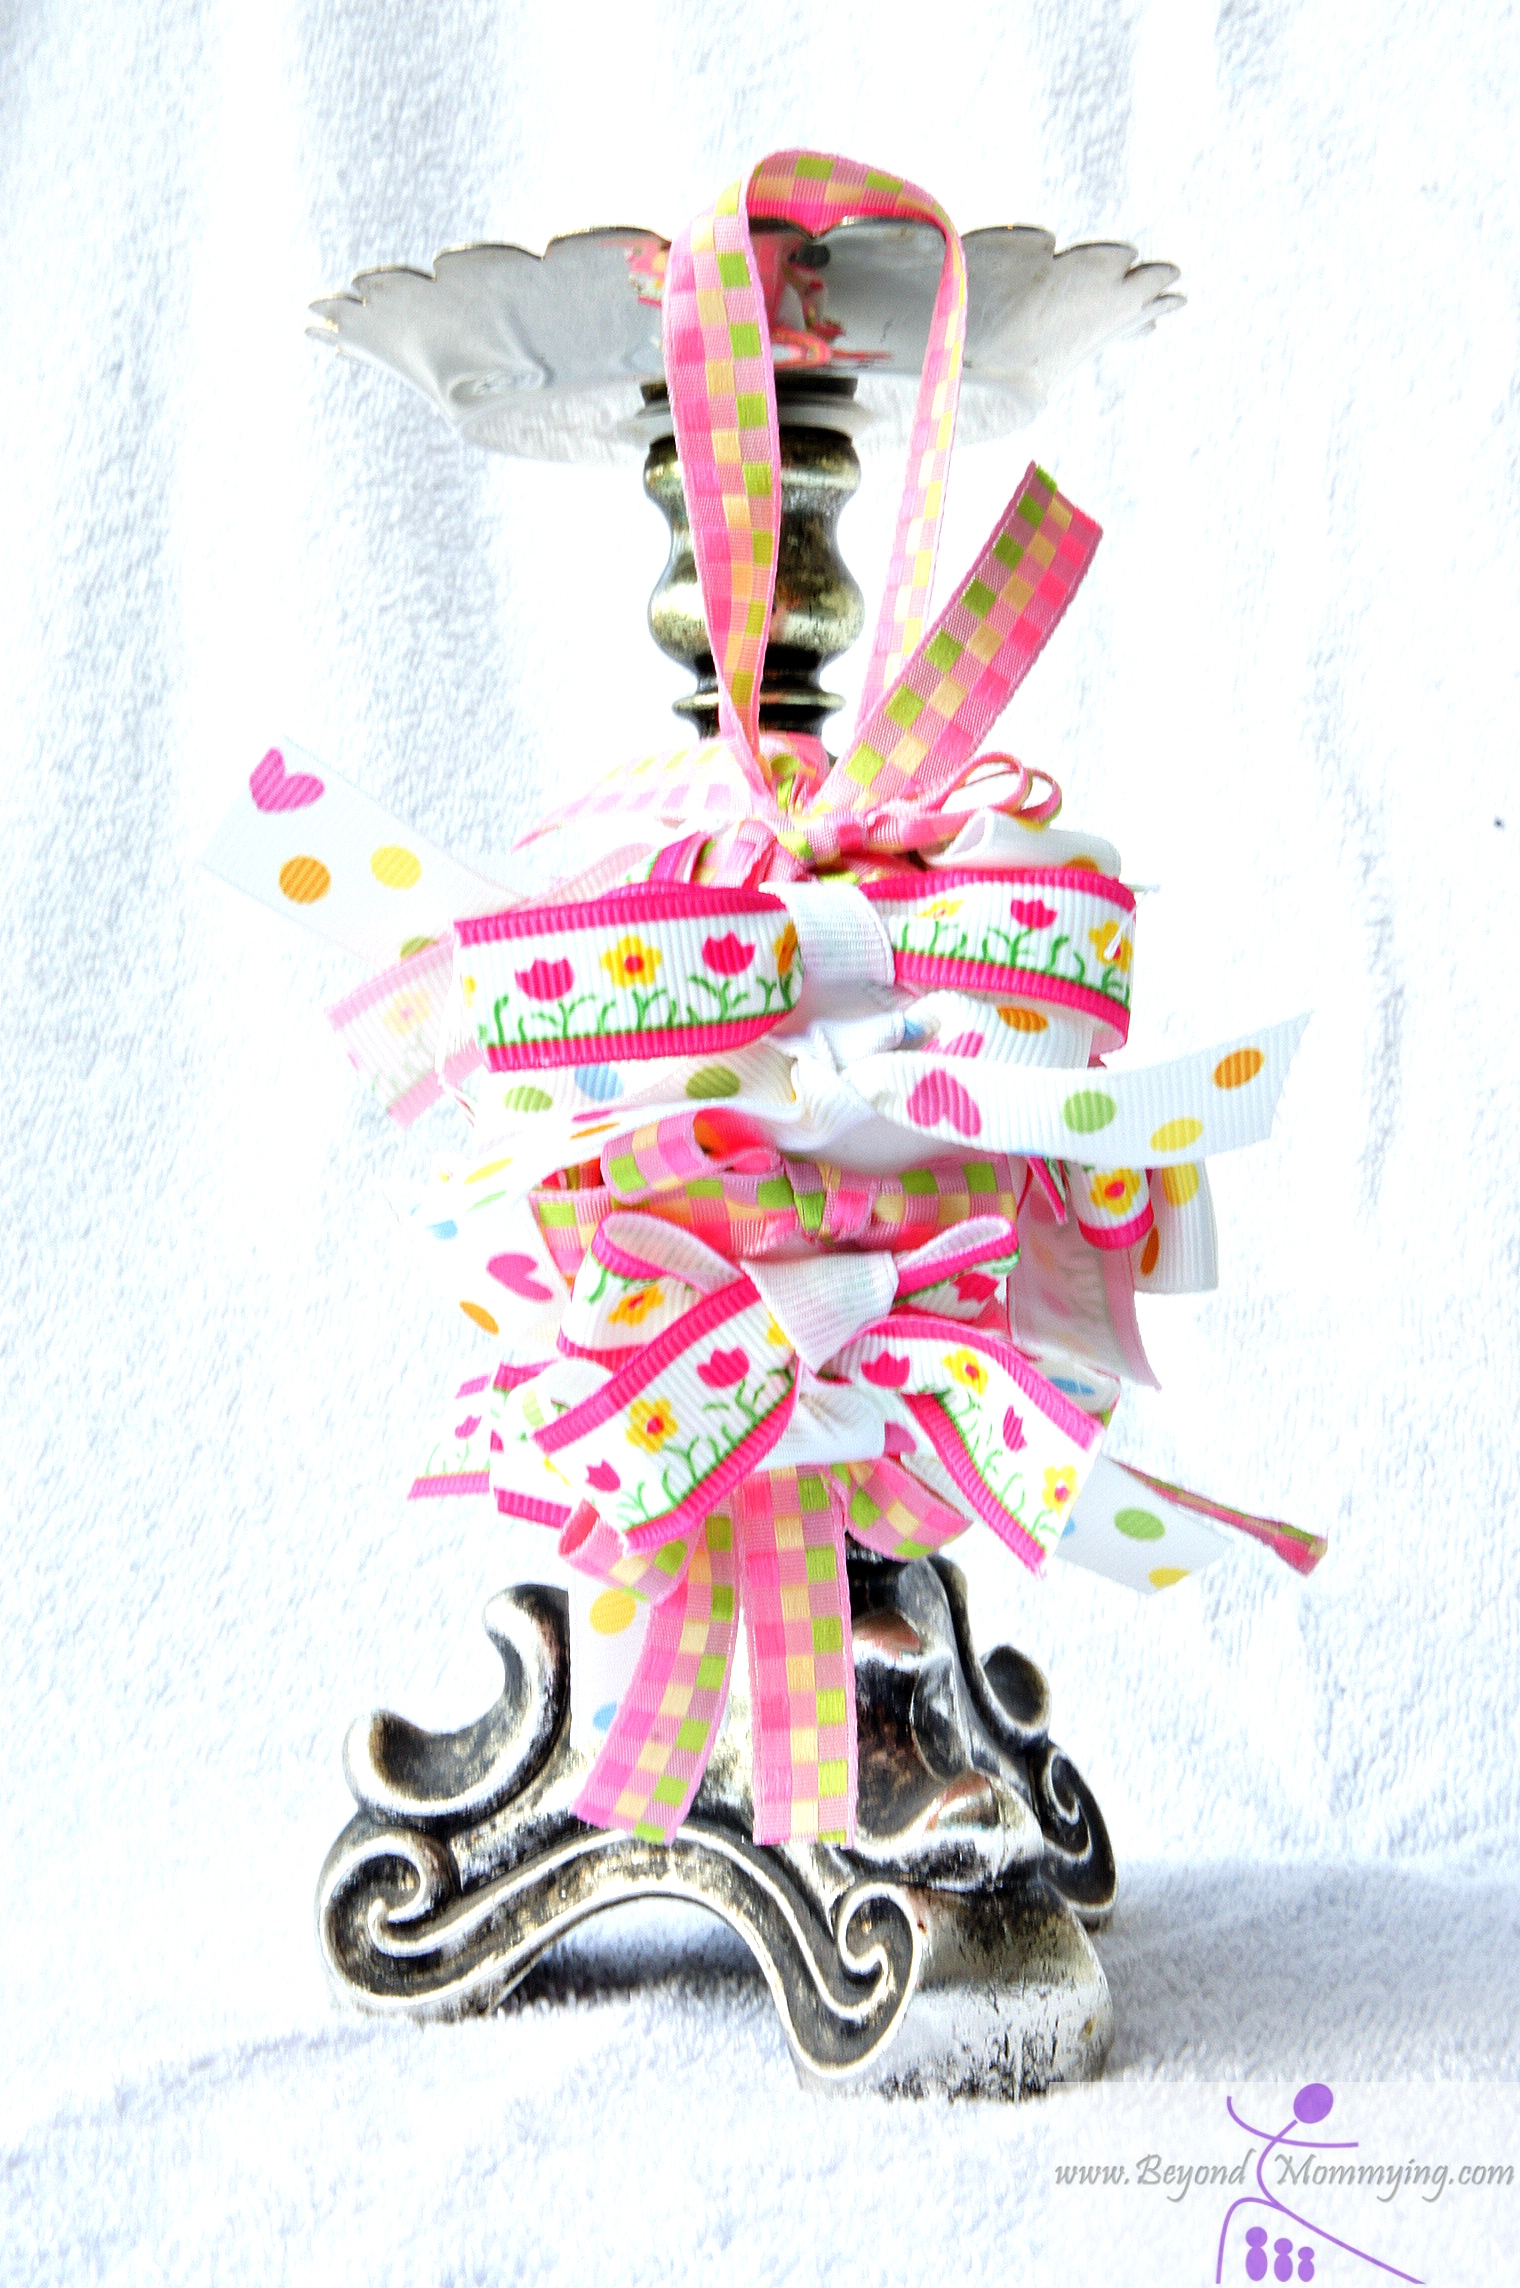
Tie the ribbon into small bows. Cover the egg with the bows and use the tails to cover the white parts of the egg.
For the flower egg:
Cover the egg completely with the leaves. Arrange the colored flowers around/down the egg and fill in around the rest of the egg with the white flowers.

