I’m not usually one to plan ahead when it comes to gifts and holidays. I’m definitely the mommy that’s scraping things together at the last minute.
But guess what? I actually thought about Mother’s Day weeks ago! Mother’s Day is one holiday where I’ve always tried to be good about sending gifts to our mommies and grandmommies (though I’ll admit I’ve gotten worse and worse about it as the years go by and the kids multiply.)
When hubby and I were dating, we used to always send pictures. I would usually make or find a nice frame and mail them all off. Since we’ve had kids I’ve been trying to do more handmade things to commemorate our children’s growth.
A few years ago we made HANDmade Bouquets but this year I wanted to do something nicer that would last and be useful. So I scraped together a few different Pinterest ideas to make something for the grandmommies: Footprint butterflies and decorated tea towels.
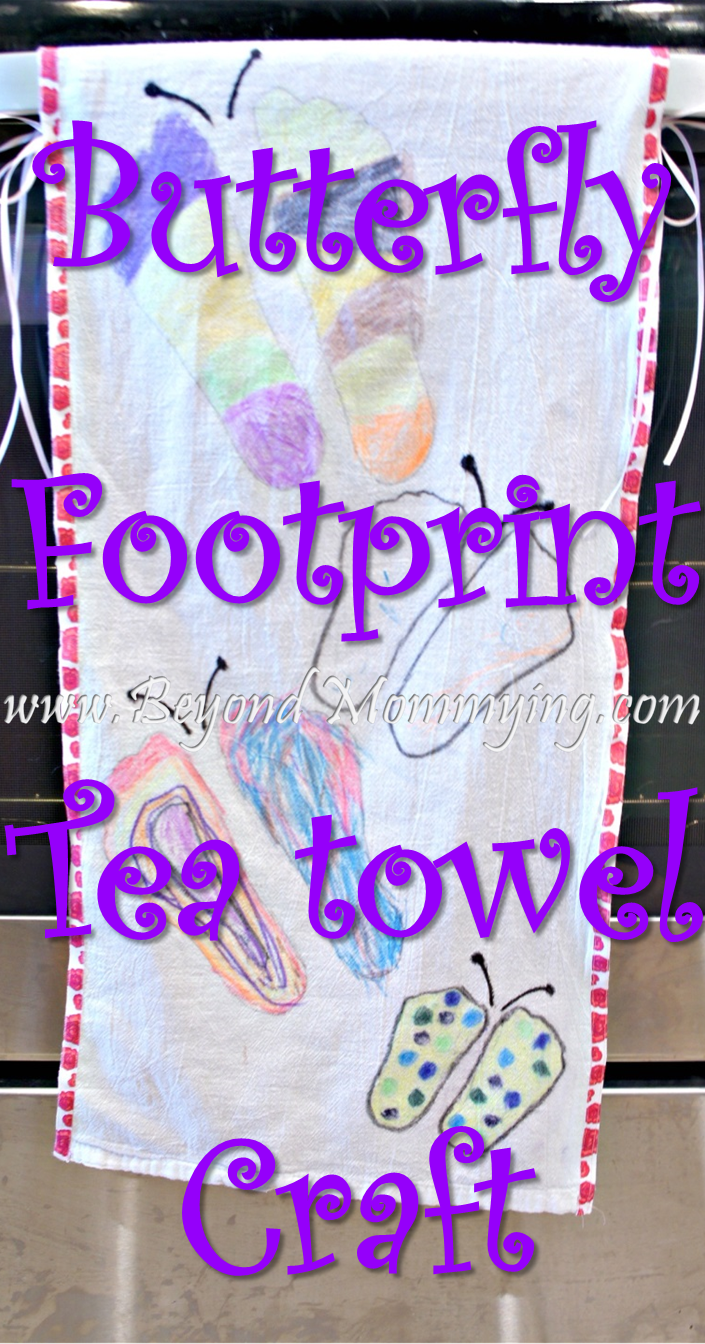
Instead of painting and doing prints like I usually like to do, I decided to trace their feet and let the kids color them in this time. (The thought of fabric paint all over me, my kids and my house after our “Things” craft was too terrifying!)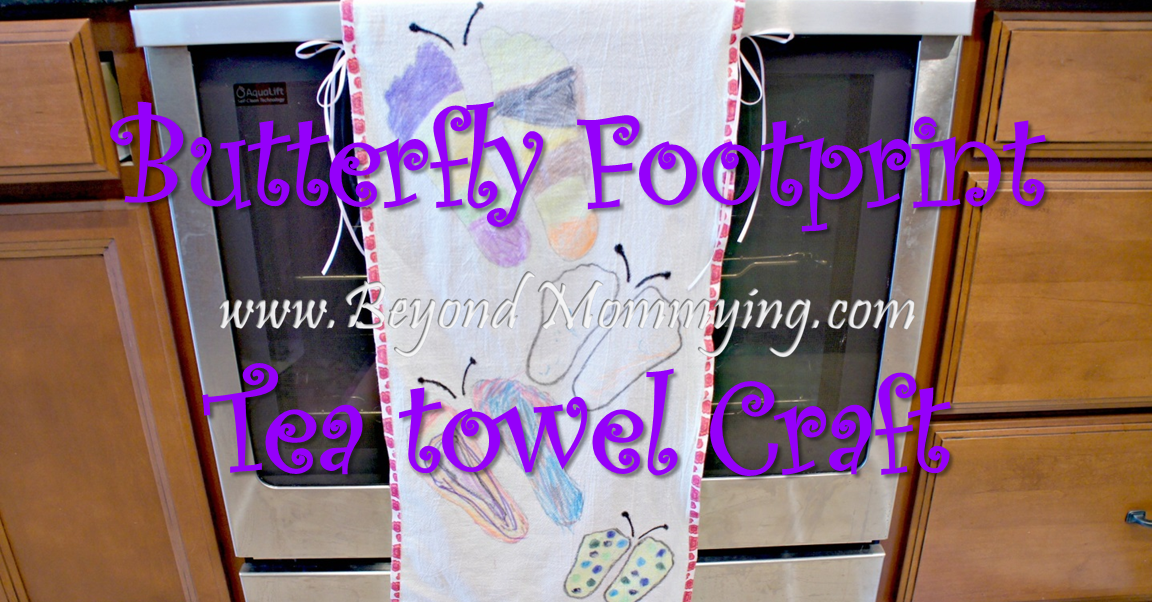
What you’ll need to make a Butterfly Footprint Tea Towel:
(below are affiliate links, if you click them and make a purchase, Beyond Mommying will earn a small commission which is used for the upkeep of the website)
- Flour Sack Towel
- Freezer Paper
- Scissors (sharp fabric scissors
are best)
- Pencil
- Fabric Crayons
- Fabric Markers
- Decorative Ribbon
I started by cutting one of my extra flour sack towels that I have for Pipsqueak’s diapers in half (these ones are really fluffy compared to the others I use so they’ve become my “in case the laundry isn’t done” inserts, most of which have never been on the bum!) The half size is perfect for my four pairs of feet and makes the towel less bulky and large for displaying.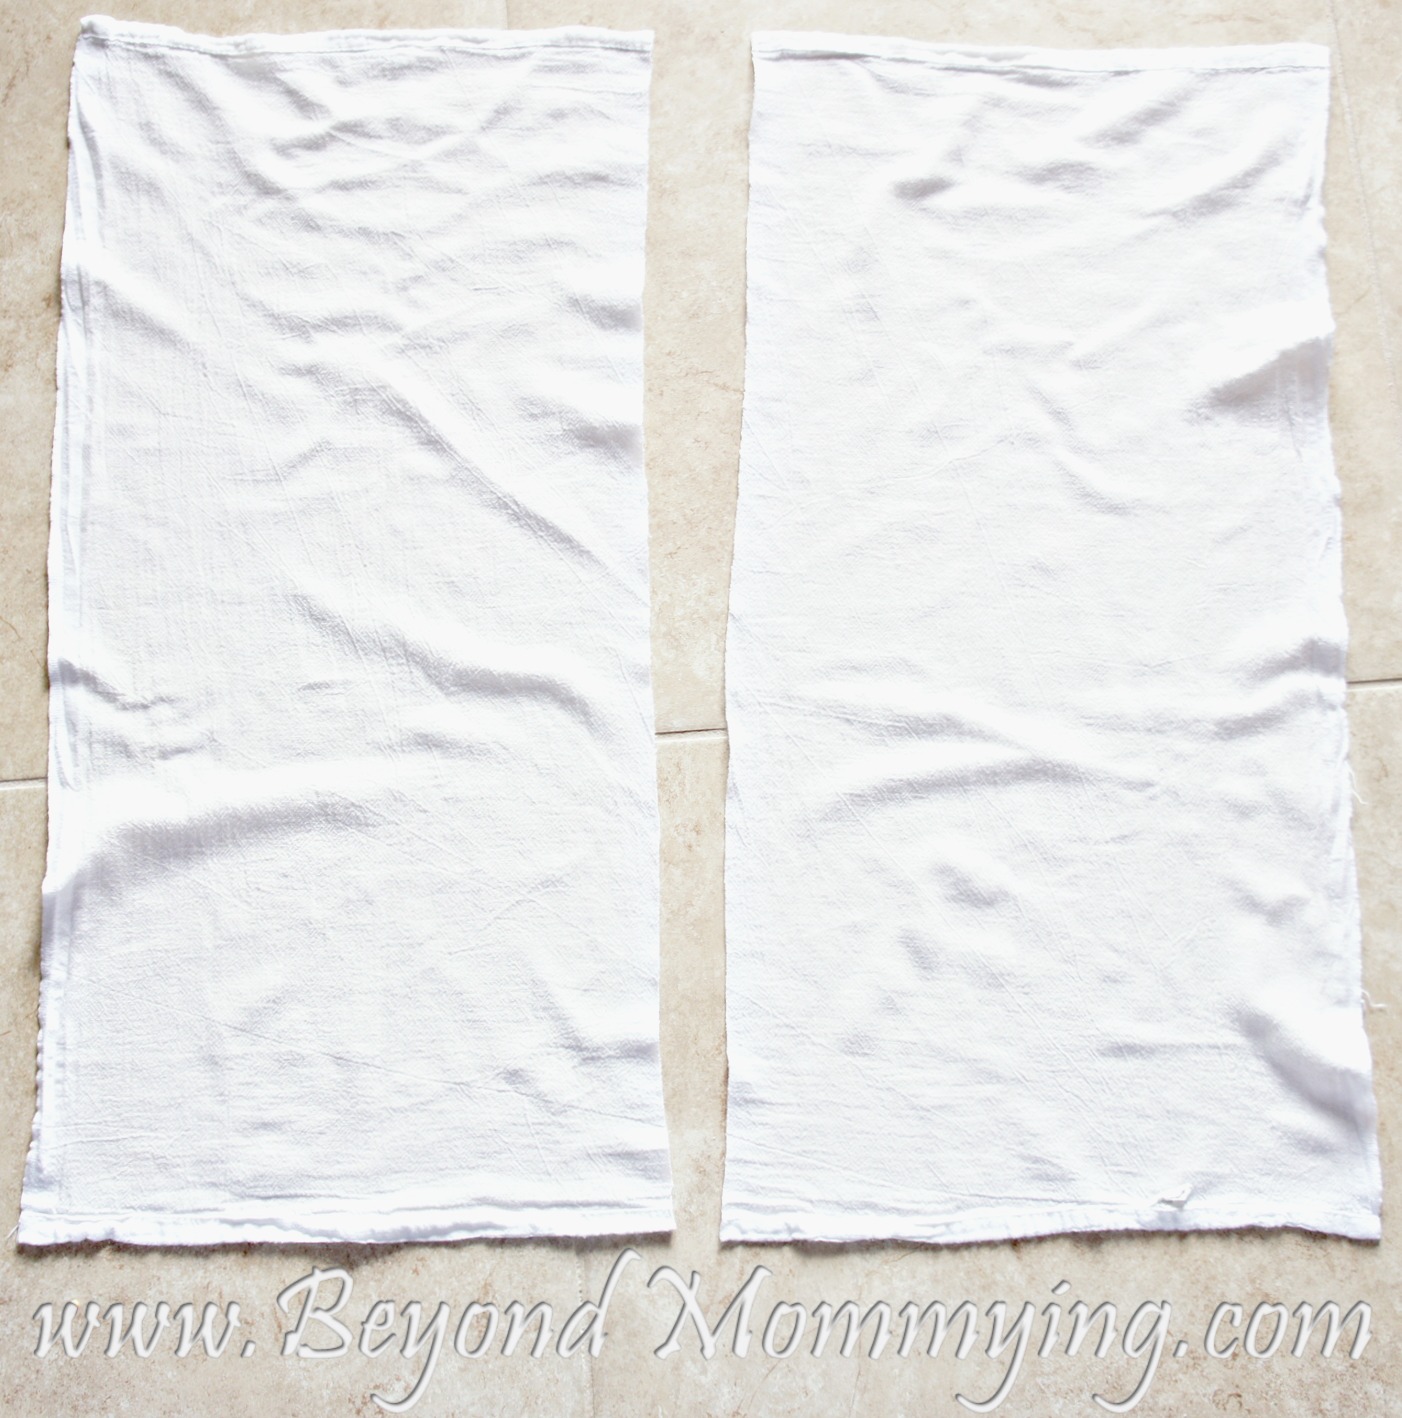
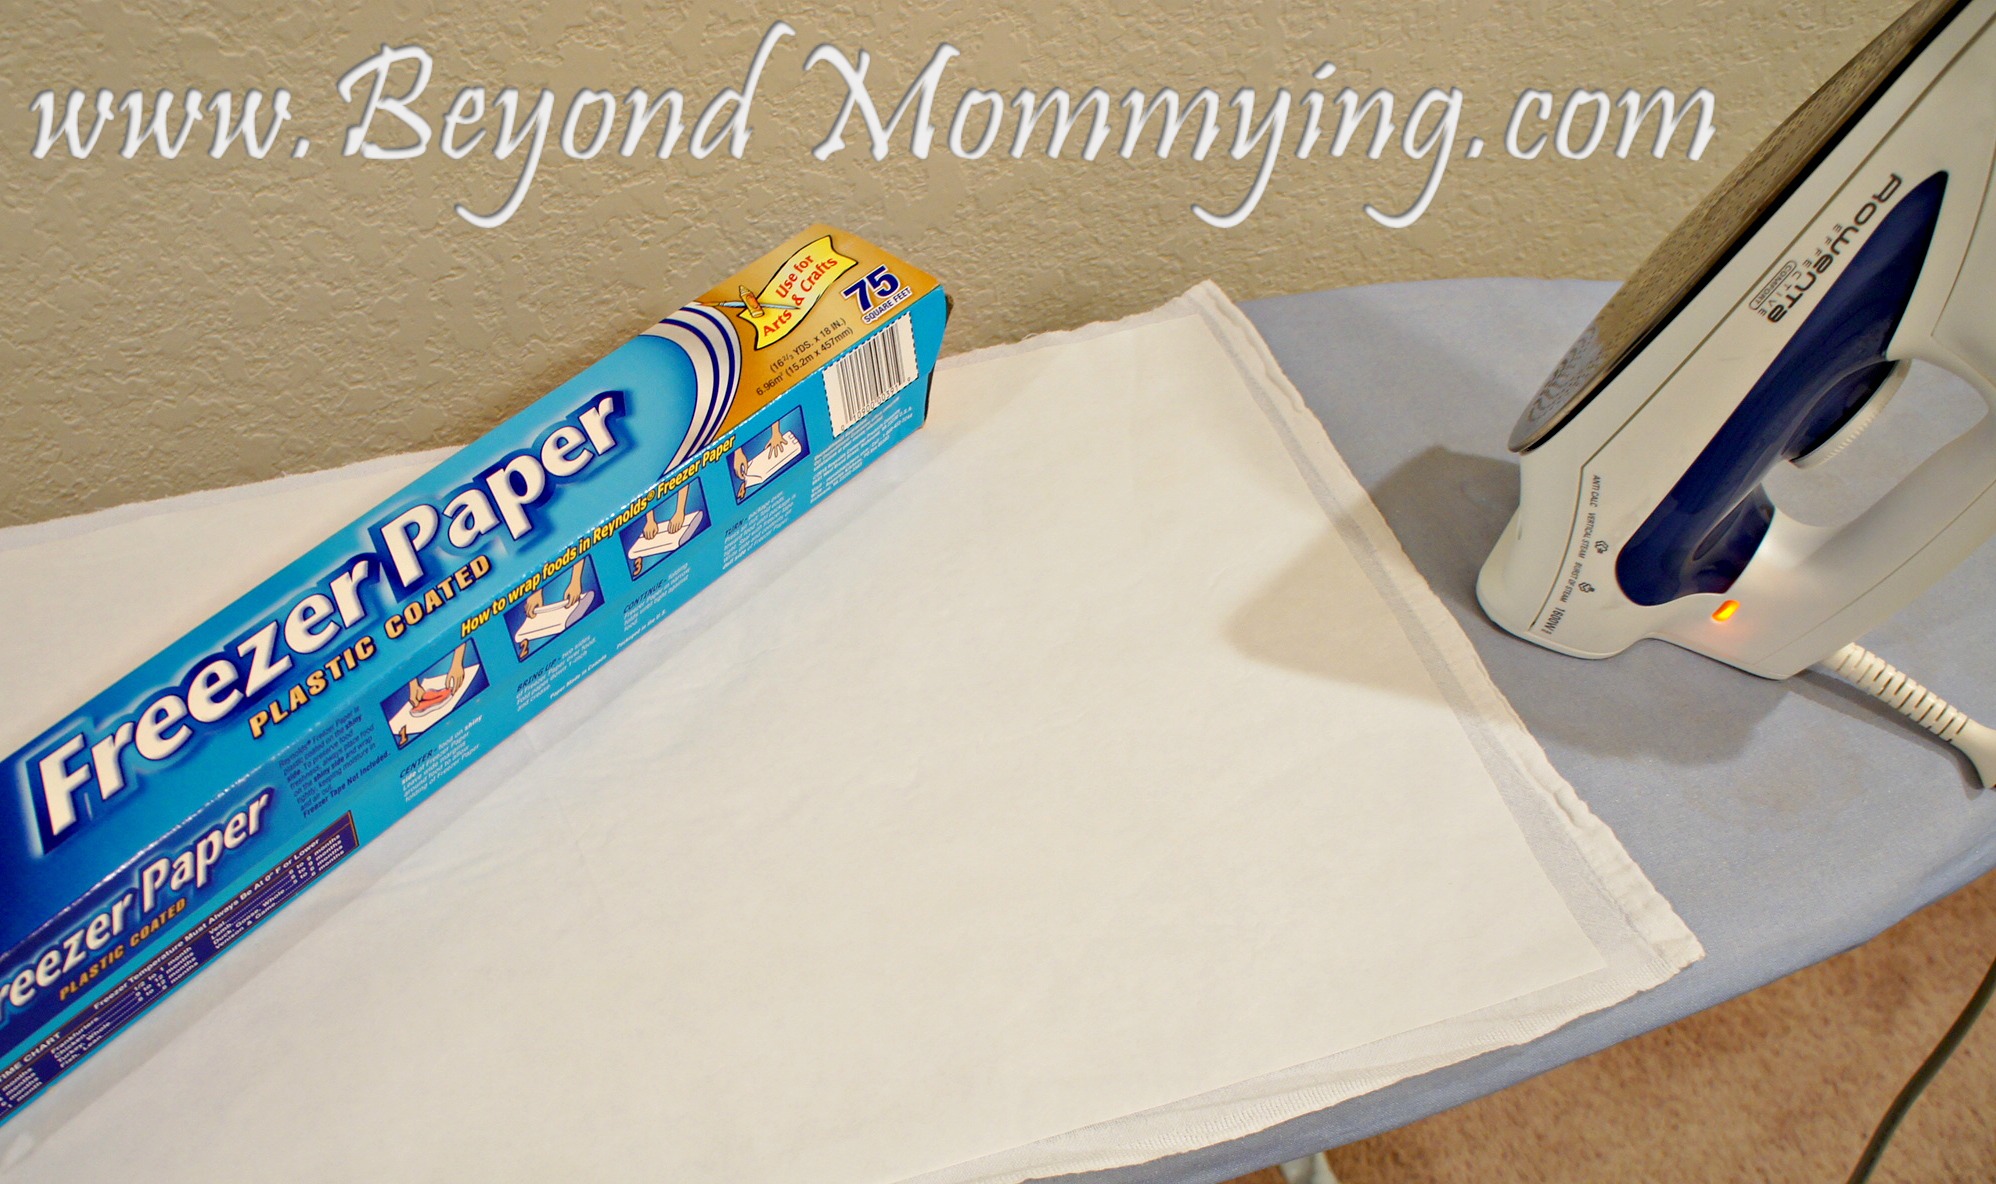
To help stiffen up the tea towel, you can apply a piece of freezer paper to the back side of the towel (directions are even on the box!) Simply cut the paper to slightly smaller than the fabric and iron on. It will not be super stuck so be careful when moving the piece around but it will help the fabric from sliding around when writing on it.
I traced each pair of feet with a pencil with the insides parallel (so heels closer together, not like dance feet parallel!) to make the butterfly wings. It helped to have the kids hold onto my shoulder/head for balance. For my older girls, I was able to place both feet then trace but for my boys I had to do one foot at a time and hold their foot firmly in place because apparently the tracing part is tickly! After the initial trace, I went back over the prints to darken the lines with the pencil (which will wash out) to make it easier for the kids to follow.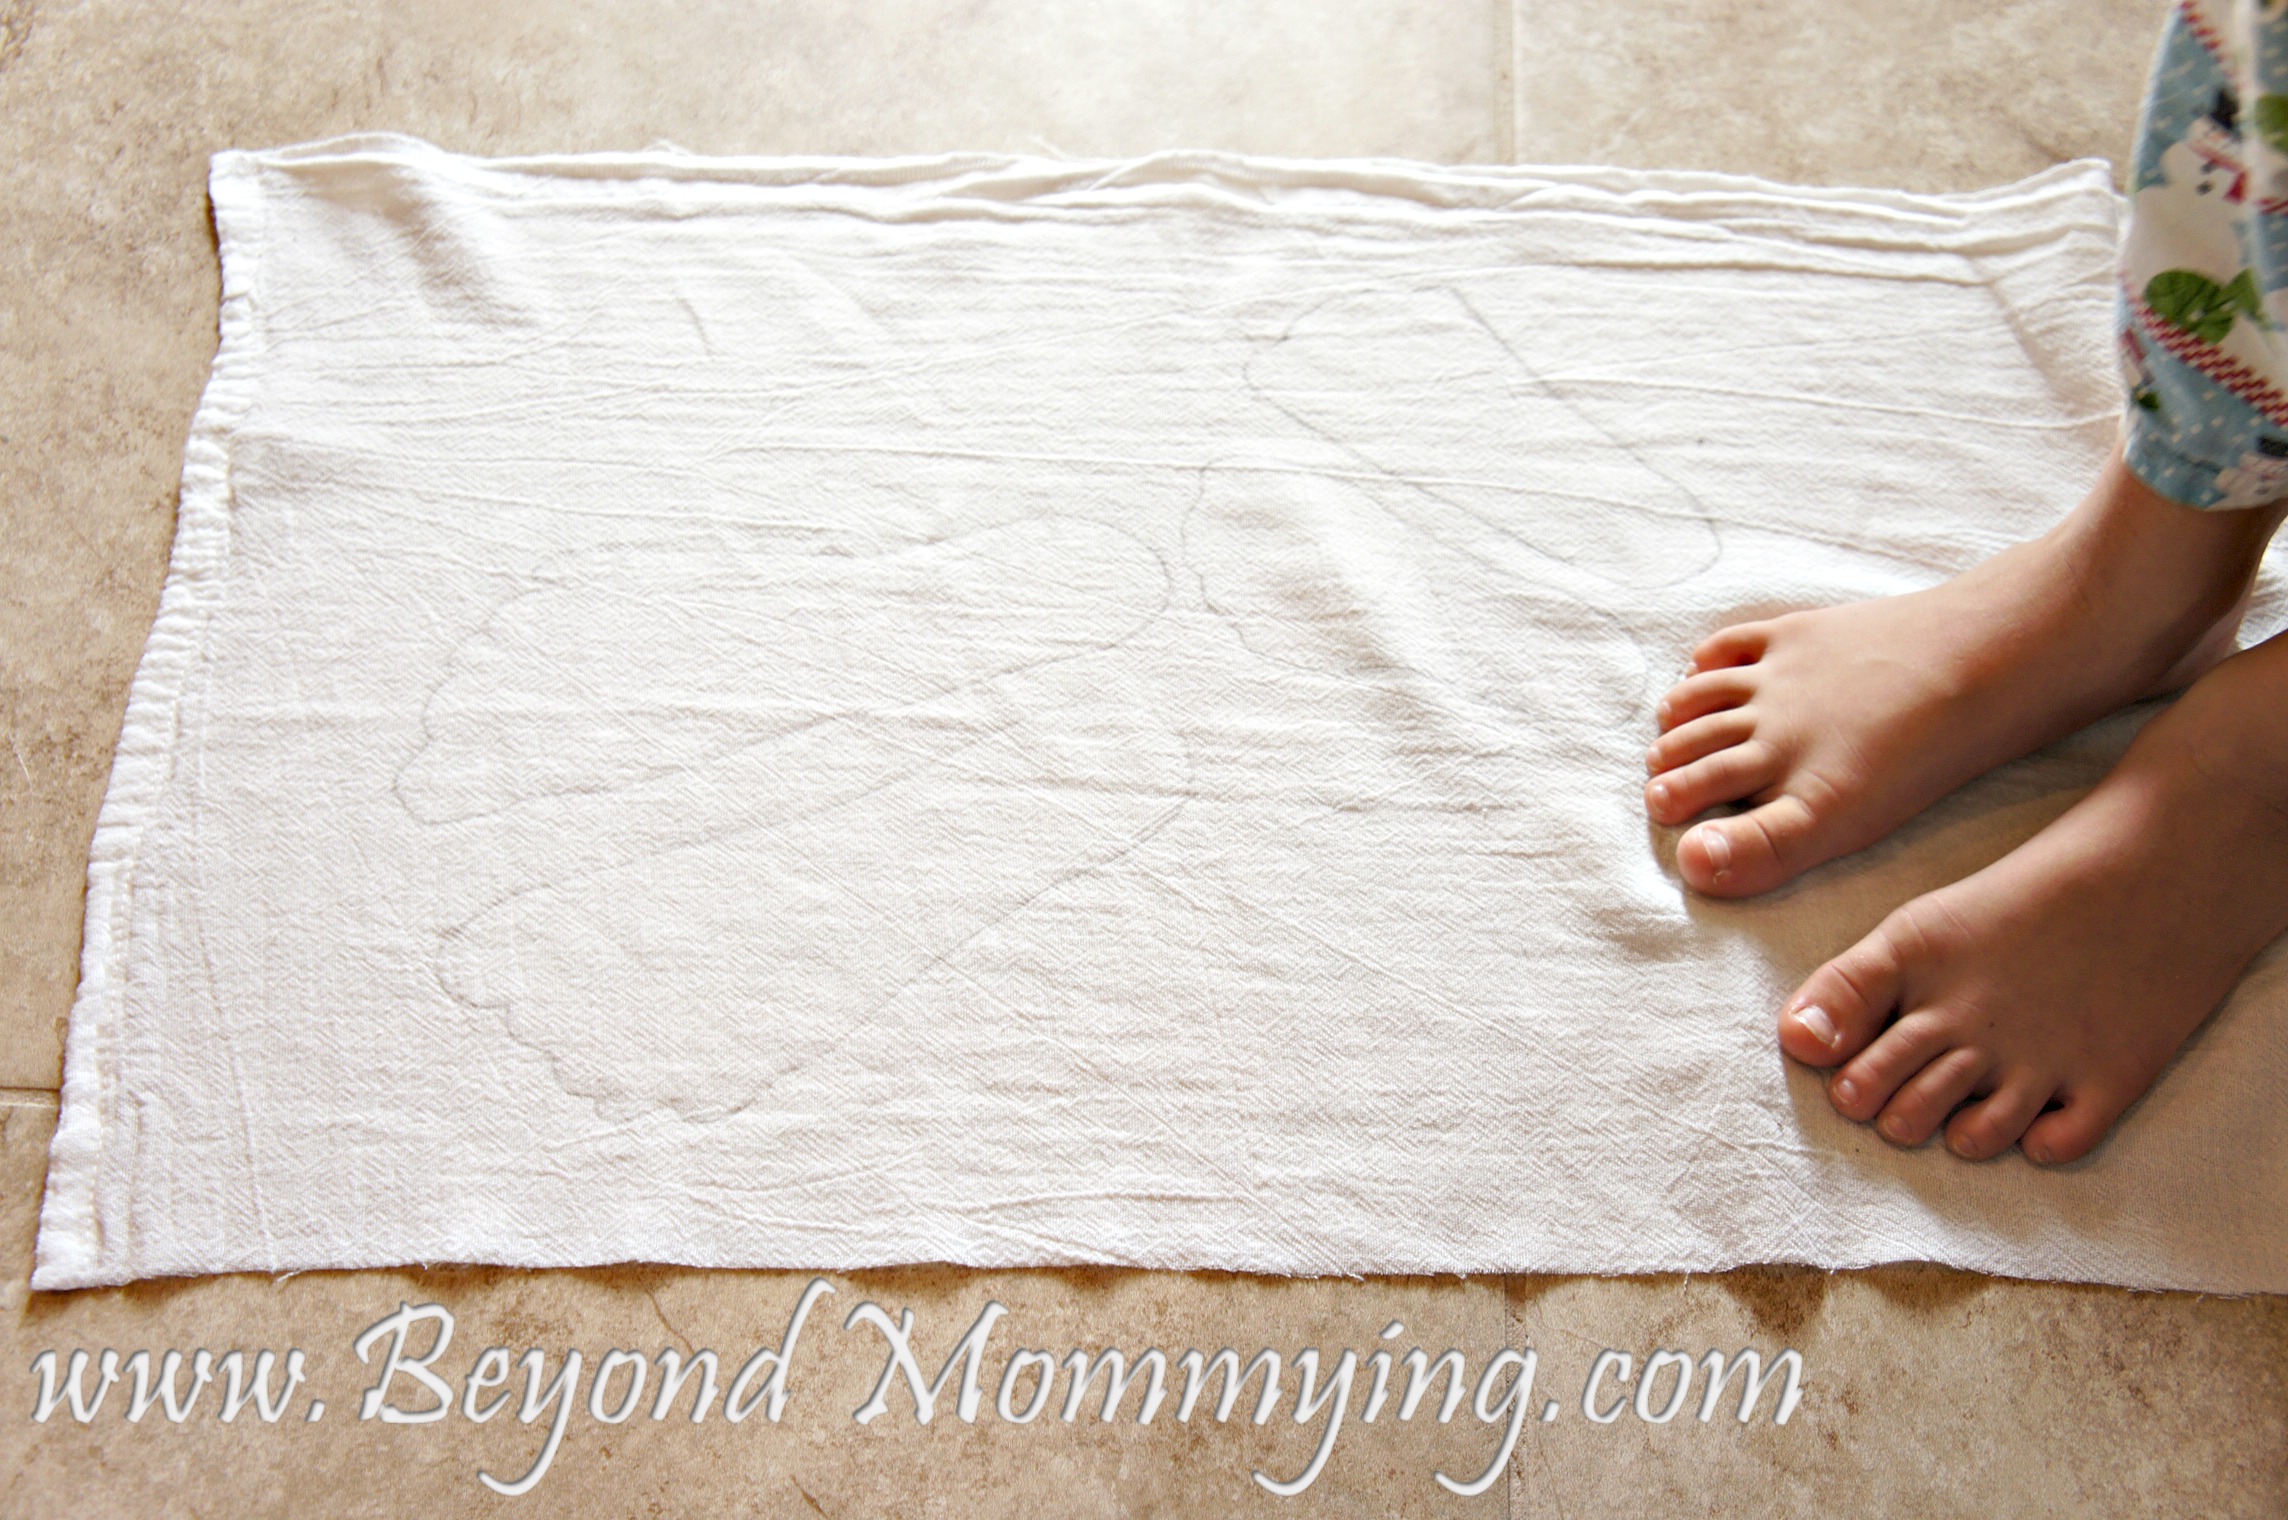
Next, the kids colored in their feet using the fabric crayons. I traced the boys’ feet first since I knew Doodle wouldn’t color in the whole foot like the girls would and I decorated Pipsqueak’s feet for him (’cause he’s a baby!) Use a fabric marker to draw the butterfly antennae and a body or write the kids’ names between their footprints to act as the butterfly body.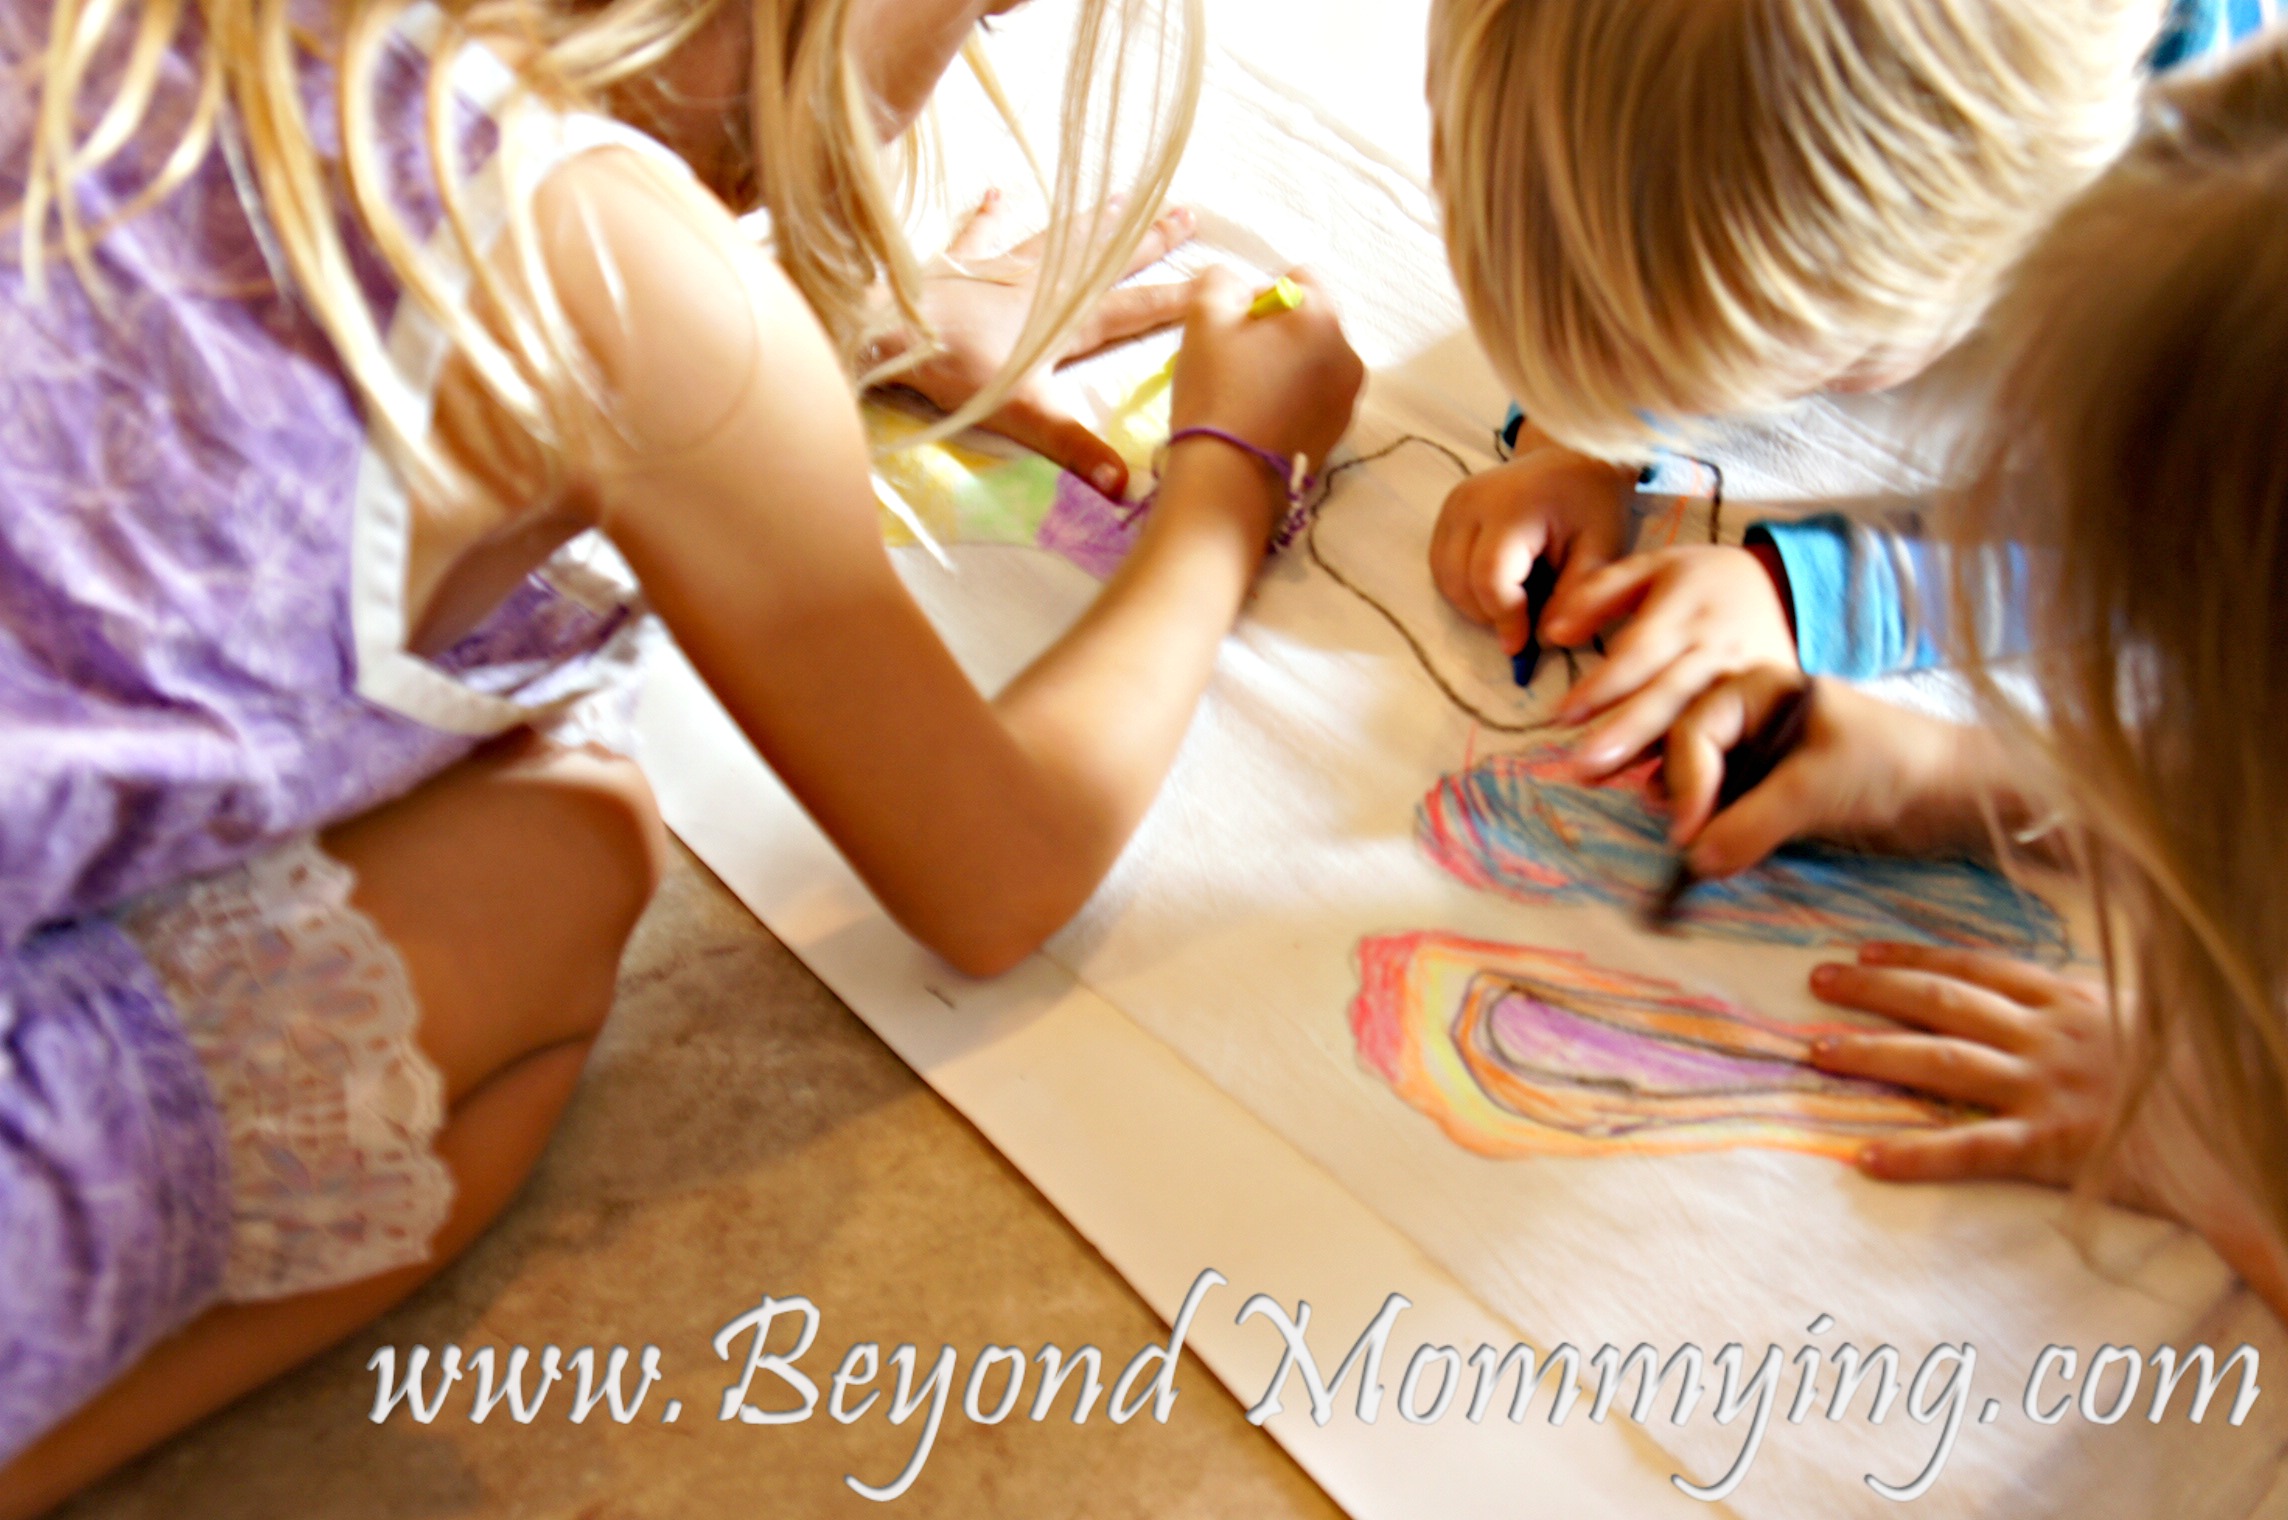
After the kids were done coloring, I ironed over the colors to set the crayons following the directions on the crayon box though instead of using fabric to cover, I used the “cloth-like” paper towels since they’re a lot cheaper and it worked perfectly!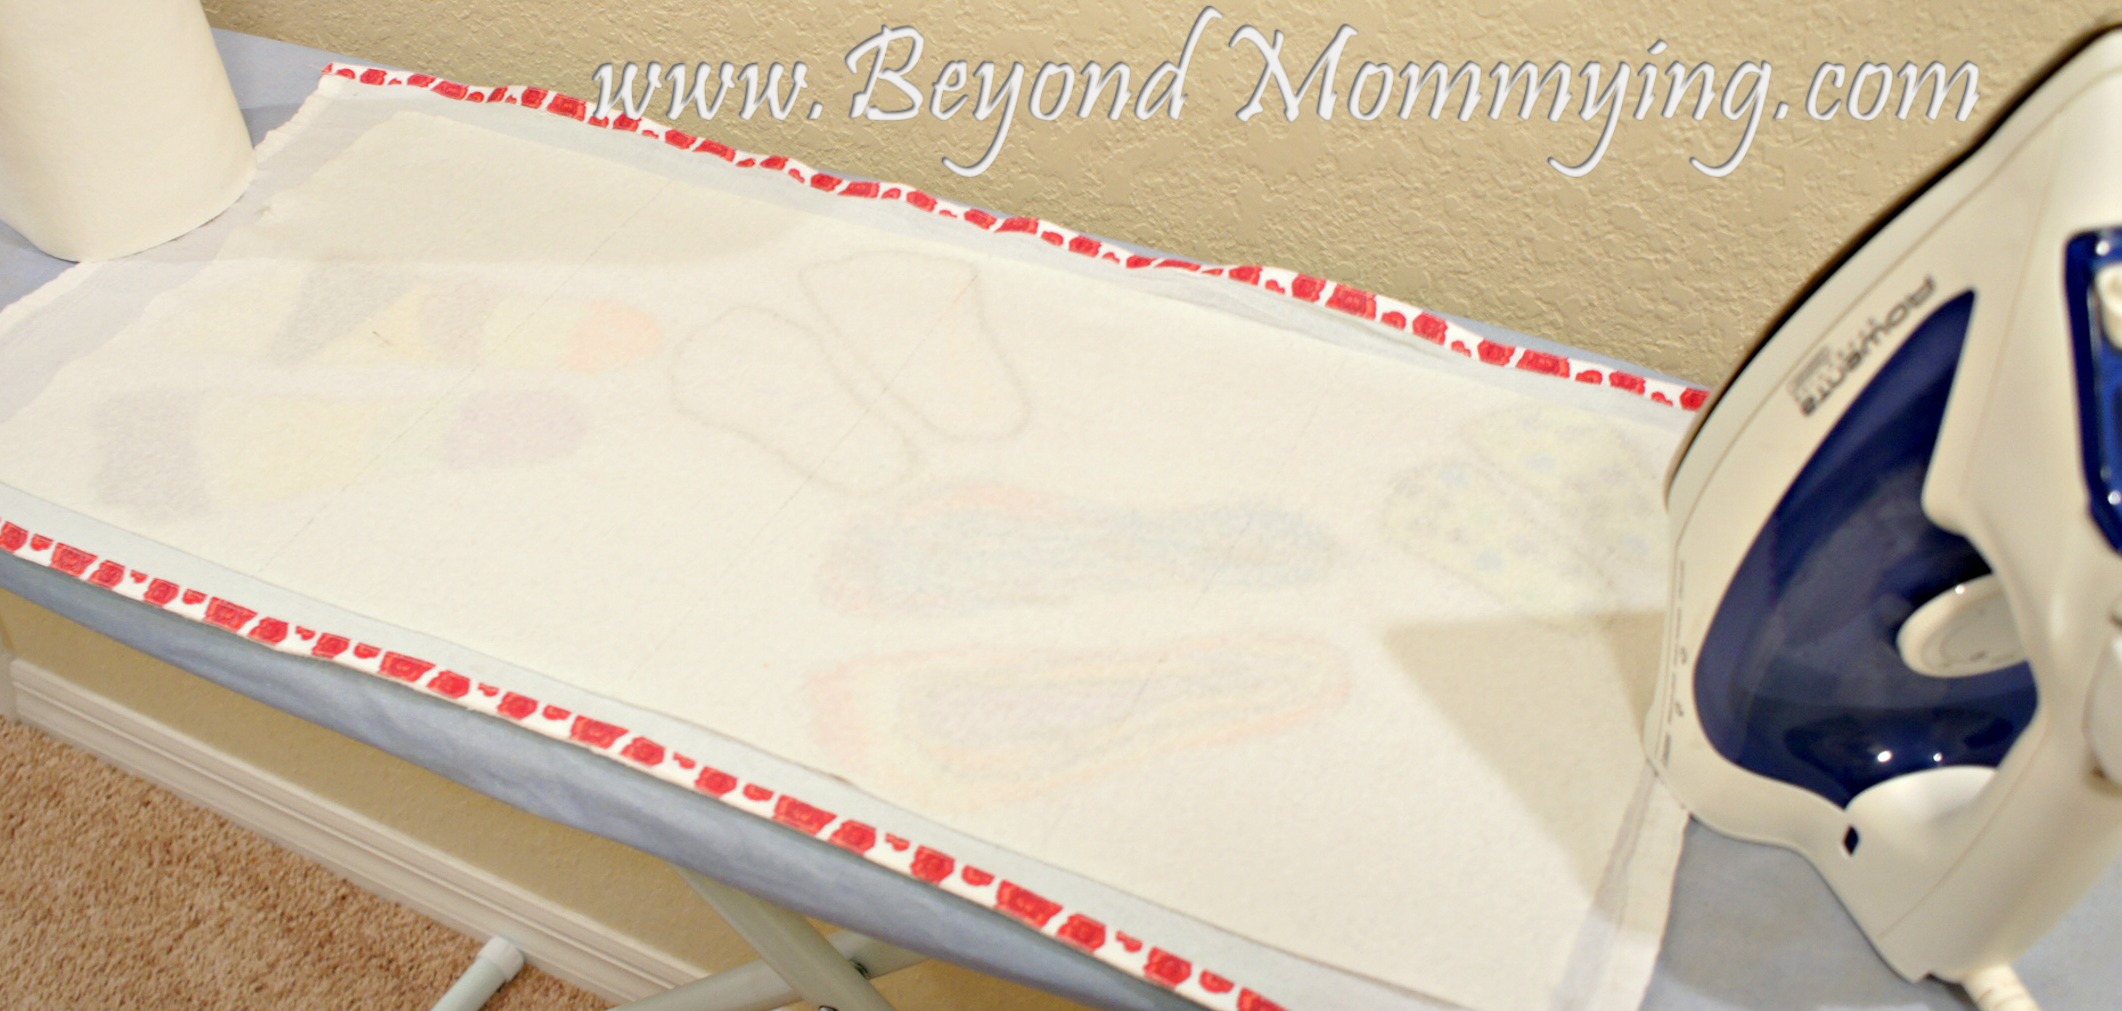
I used some nice ribbon I had to edge the towel and finish off the cut side of the fabric. To do this, first sew the ribbon along the edge on the back side of the fabric. Then fold it over the front and sew along the other edge. (You can find a picture tutorial here.) And sew two smaller ribbons on each side of the towel for hanging around an oven handle, one at the top corner and one a few inches down.

